How to Create a Merchant
This guide will walk you through the process of creating a test merchant with standard features. If creating a merchant for production use, leave Is Test toggled off.
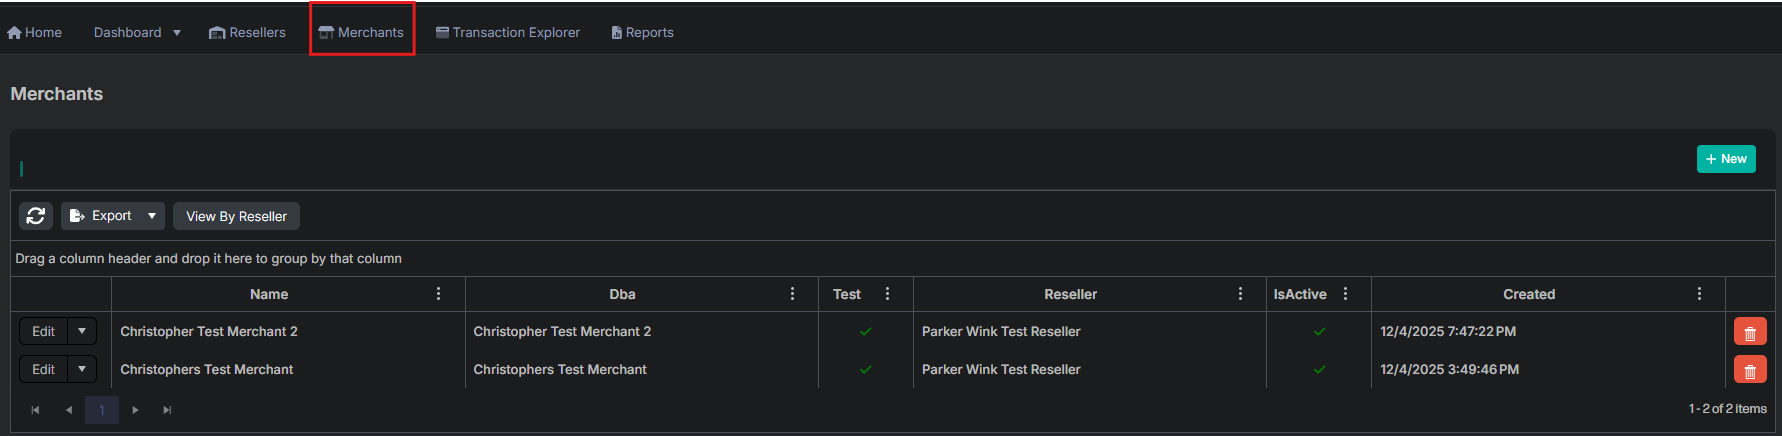
1. Navigate to the Merchants Section
From the reseller portal, select Merchants from the main navigation menu.
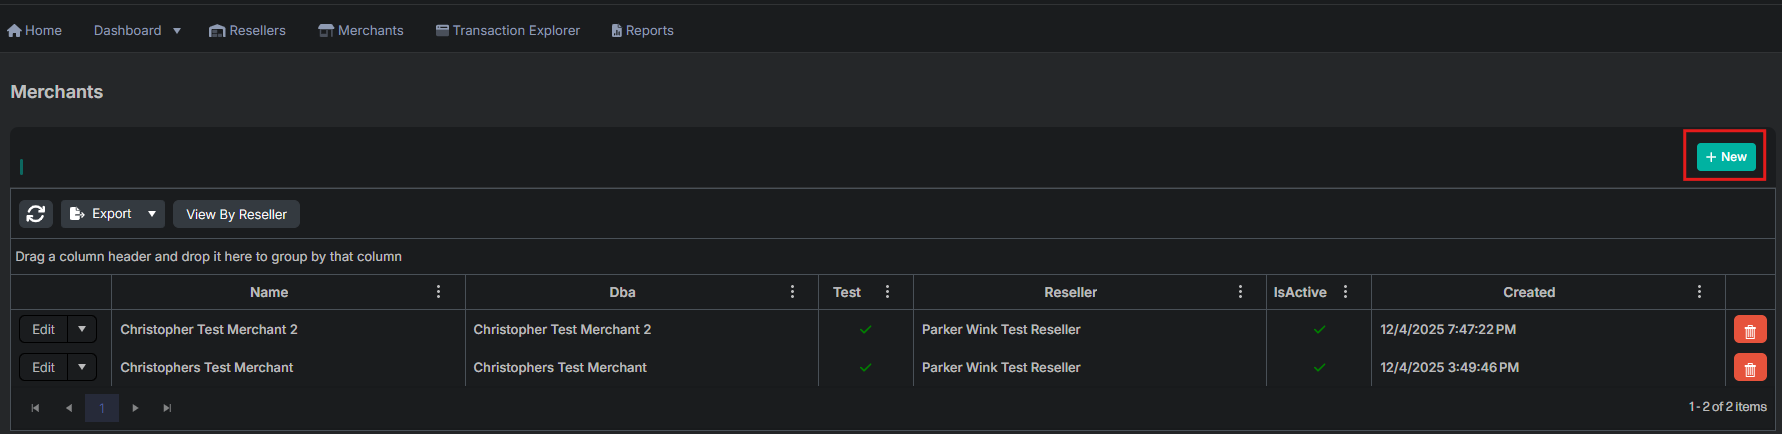
2. Create a New Merchant
Click the +New button to begin creating a new merchant.
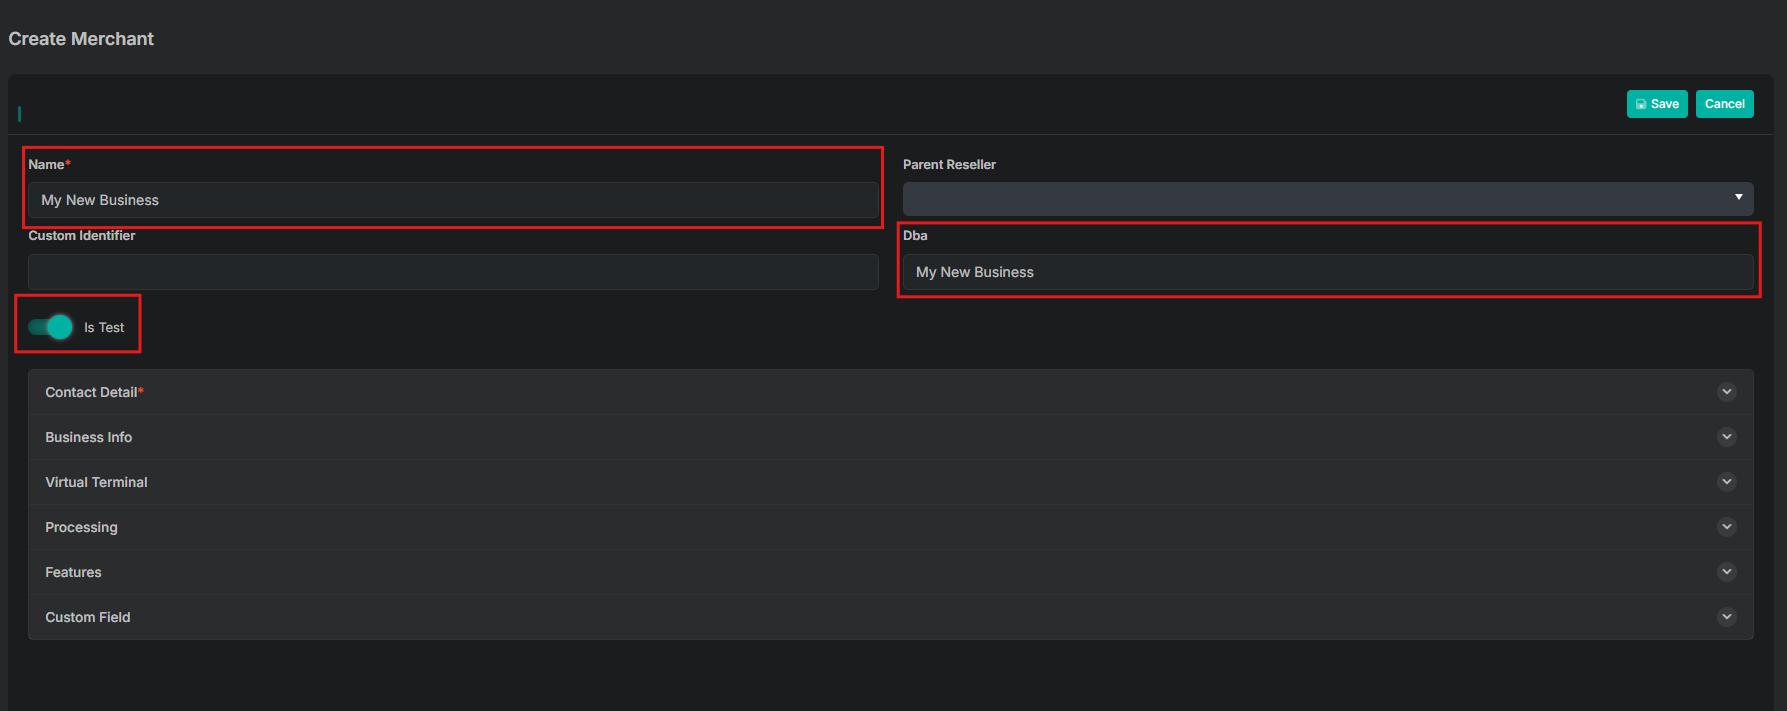
3. Enter Merchant Information
Fill in the identifying merchant information:
- Enter the Name of the merchant (Required)
- Enter the DBA name (Doing Business As)
- Toggle Is Test on
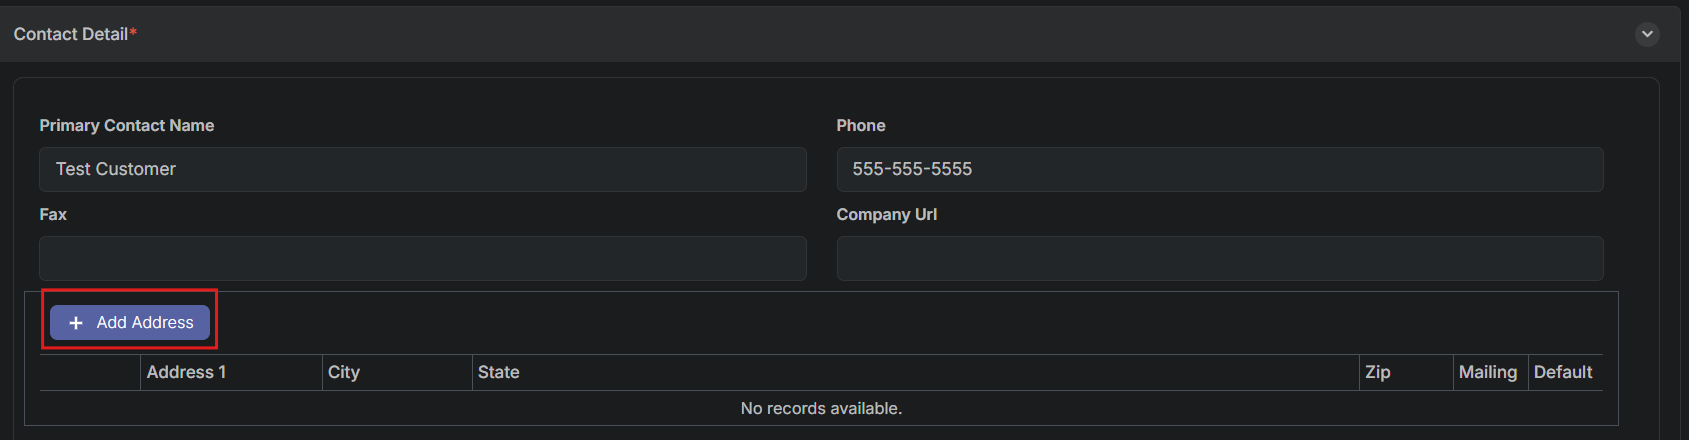
4. Enter Contact Details (Required)
Fill in the contact details and address information for the merchant:
- Enter Primary Contact Name
- Enter Phone number
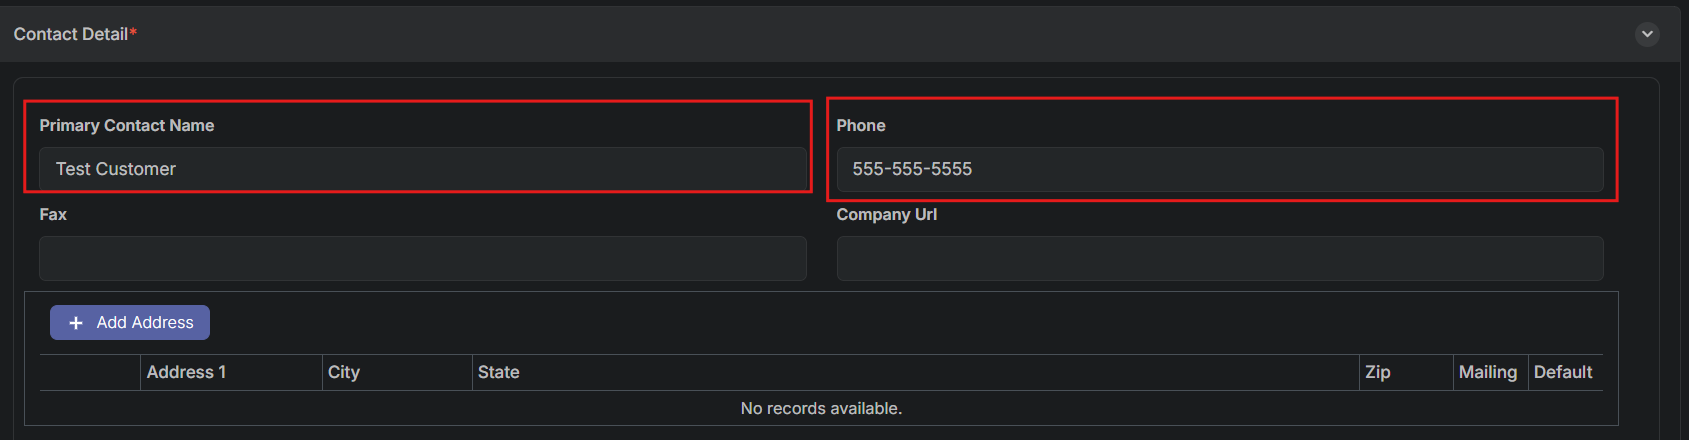
Select + Add Address
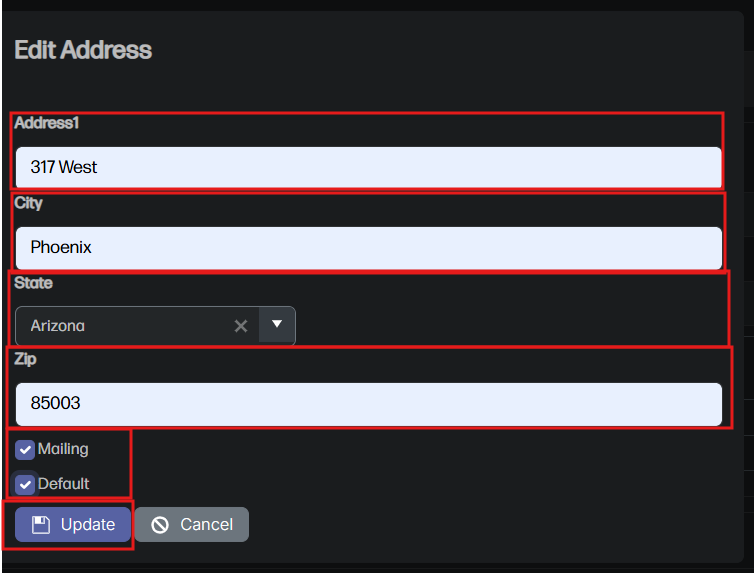
Complete the address fields:
- Enter Address1
- Enter City
- Select State
- Enter ZIP
- Toggle Mailing if this is the primary mailing address
- Toggle Default (merchants must have at least one default address)
- Click Update after all information has been entered
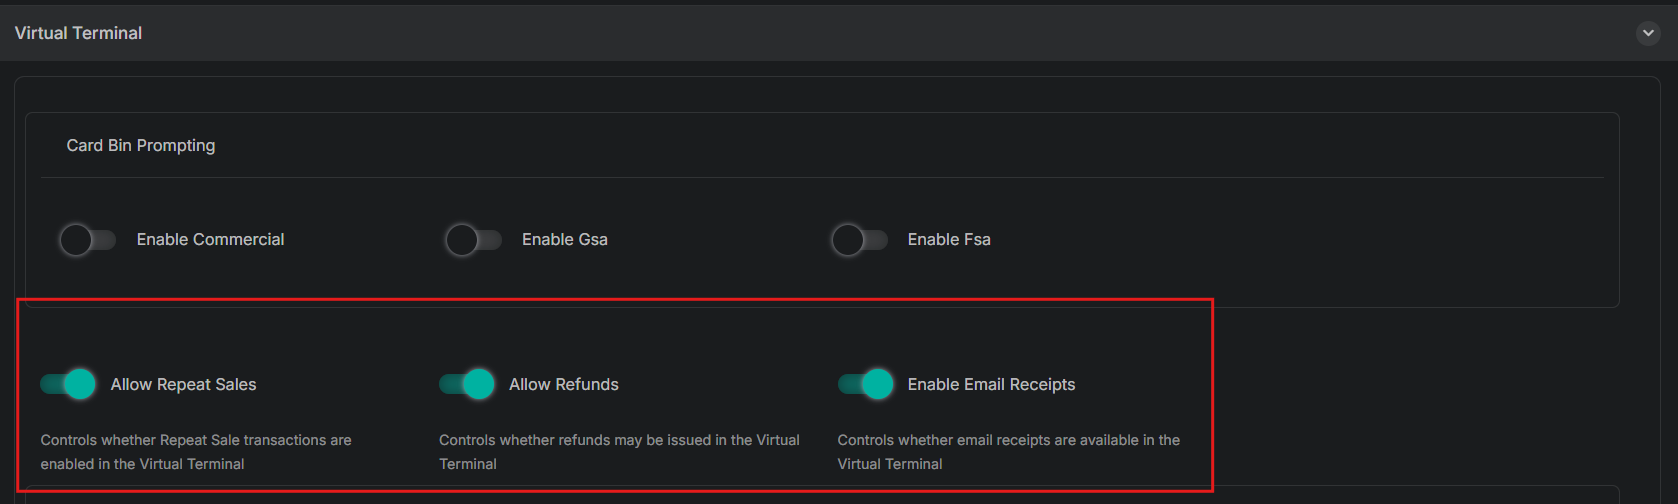
5. Configure Virtual Terminal Options
There are multiple optional fields that can be toggled on and edited. For the purposes of this walkthrough, we will only enable basic features. For a complete explanation of all settings, please see the Edit Merchant Field Reference Page.
Configure the following options:
- Toggle Allow Repeat Sales on
- Toggle Allow Refunds on
- Enable Email Receipts is toggled on by default
6. Configure Processing Options
There are multiple optional fields that can be toggled on and edited. For the purposes of this walkthrough, we will only enable basic features. For a complete explanation of all settings, please see the Edit Merchant Field Reference Page.
Configure the following options:
- Toggle Require Name on Card on
- Toggle Enable Force Capture on
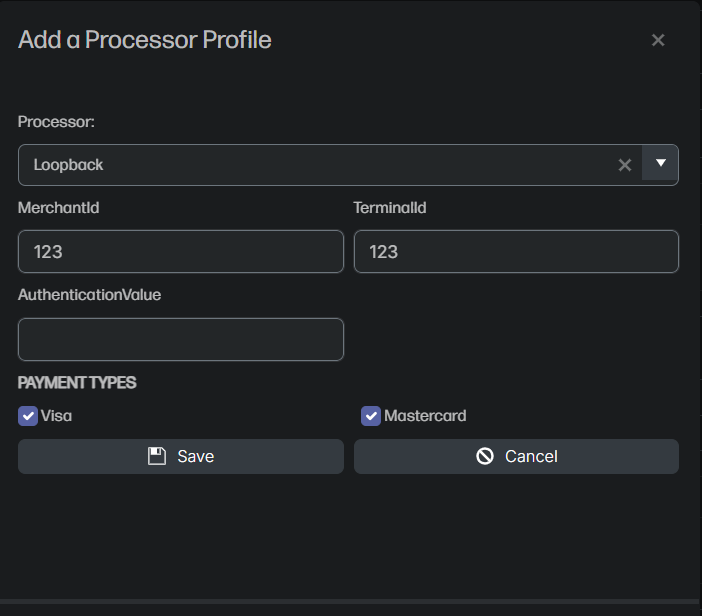
7. Configure Processor Profiles
Configure, view, and edit processor profiles. Processors have their own set of required fields that will need to be filled in from the VAR sheet. For this example, we will use a loopback processor for internal testing.
Select + Processor Profile

Add a processor profile by completing the following fields:
- Select Processor from the dropdown menu
- Enter MerchantId
- Enter TerminalId
- Select Payment Types (Visa, Mastercard, etc.)
- Click Save
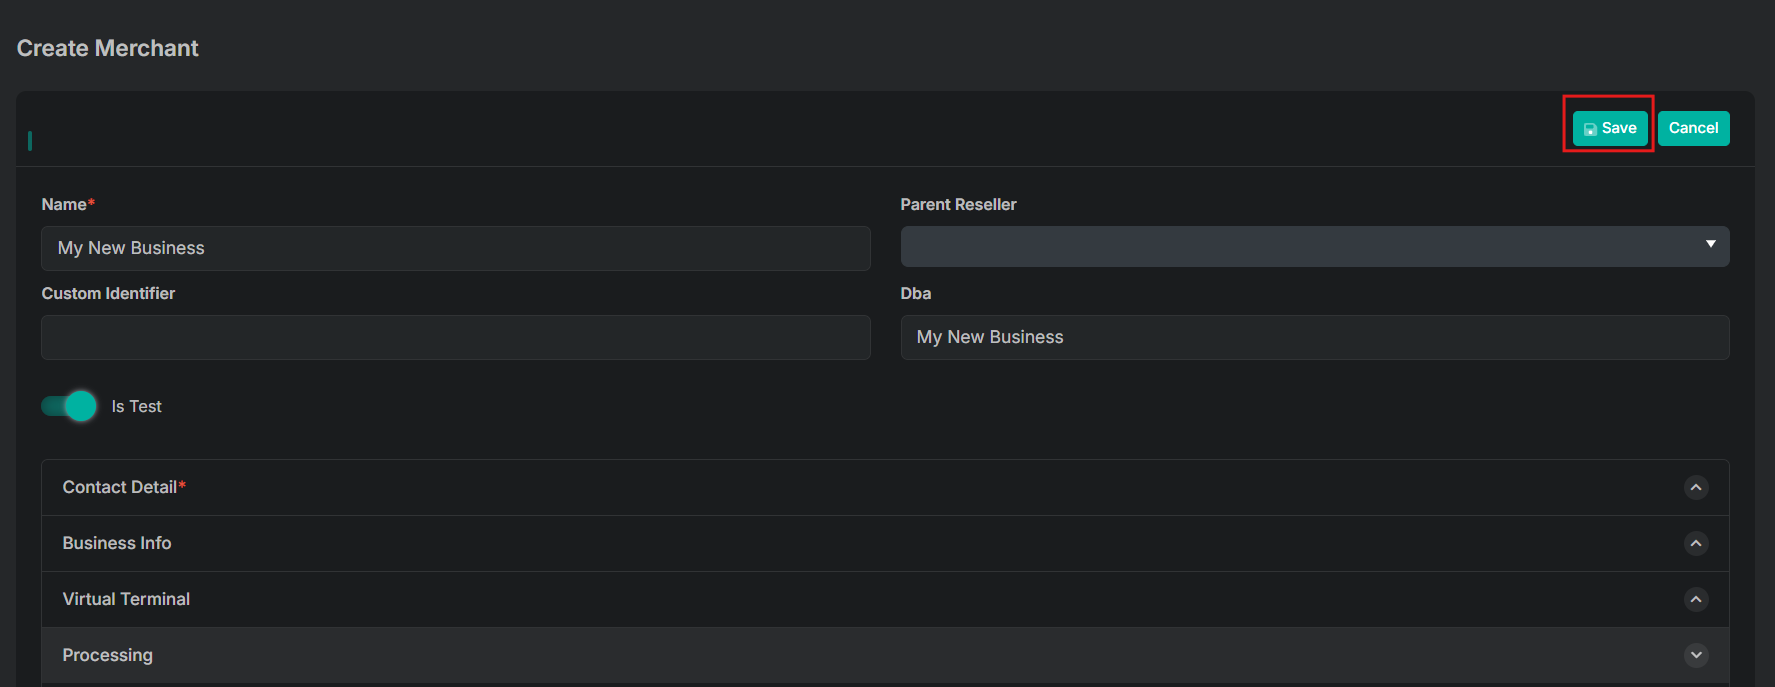
8. Save Your Merchant
To save your merchant, scroll to the top of the page and select Save.
Updated 8 months ago