Managing Payment Methods
Adding cards to Wink
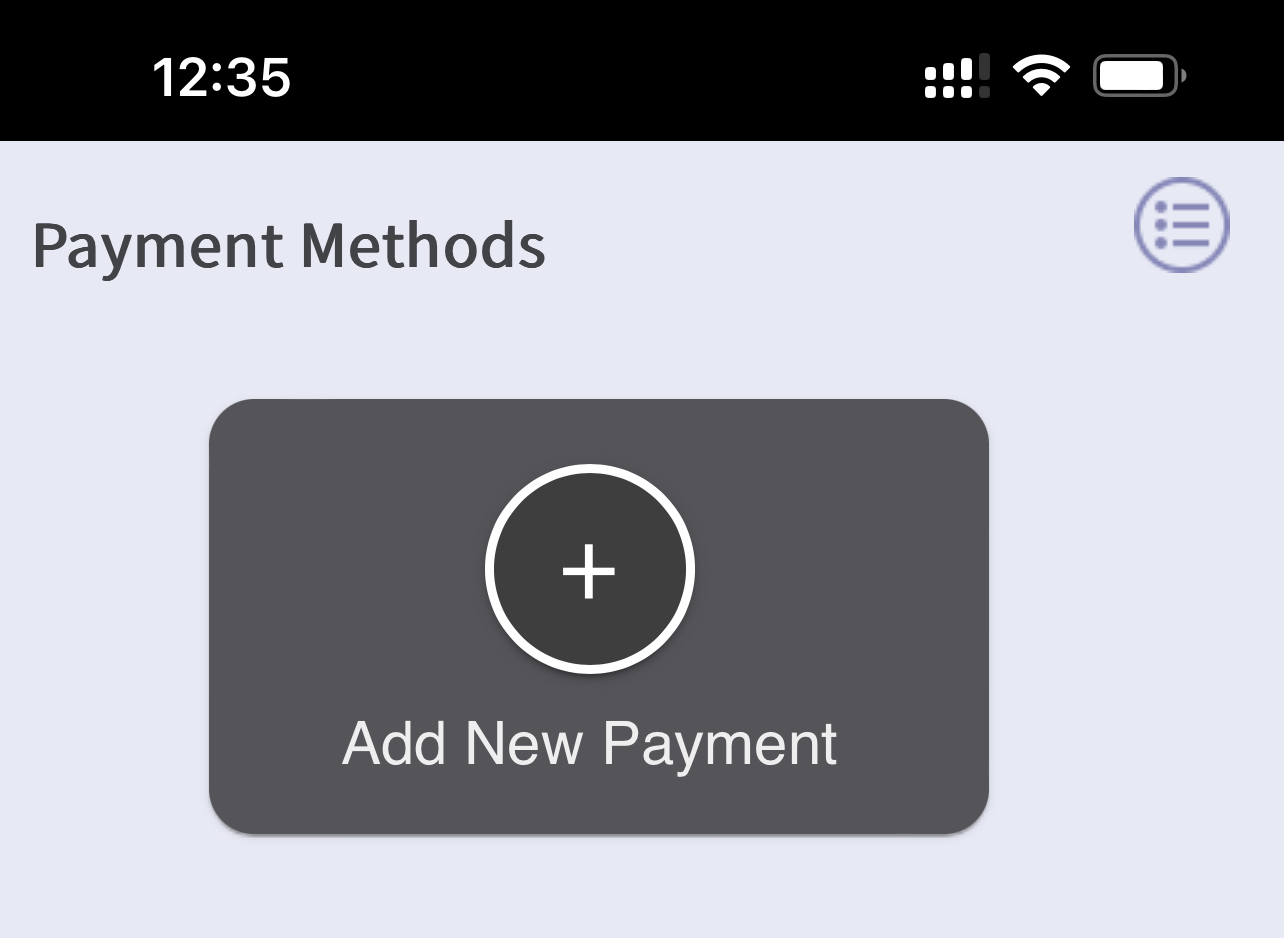
When the user visits this page for the 1st time ( as a guest user or 1st time as a new Wink user ), they will see an empty card carousel with a tile to add a card that looks like this
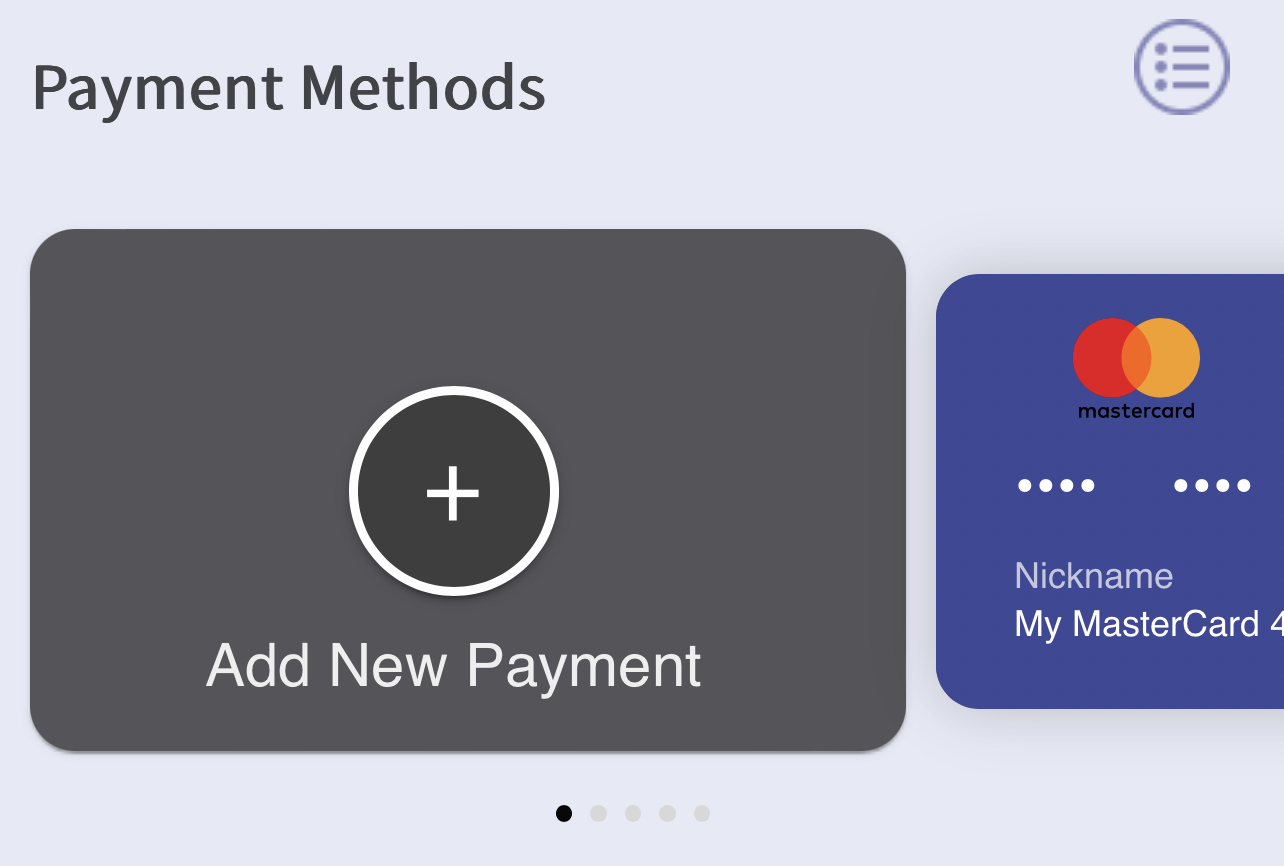
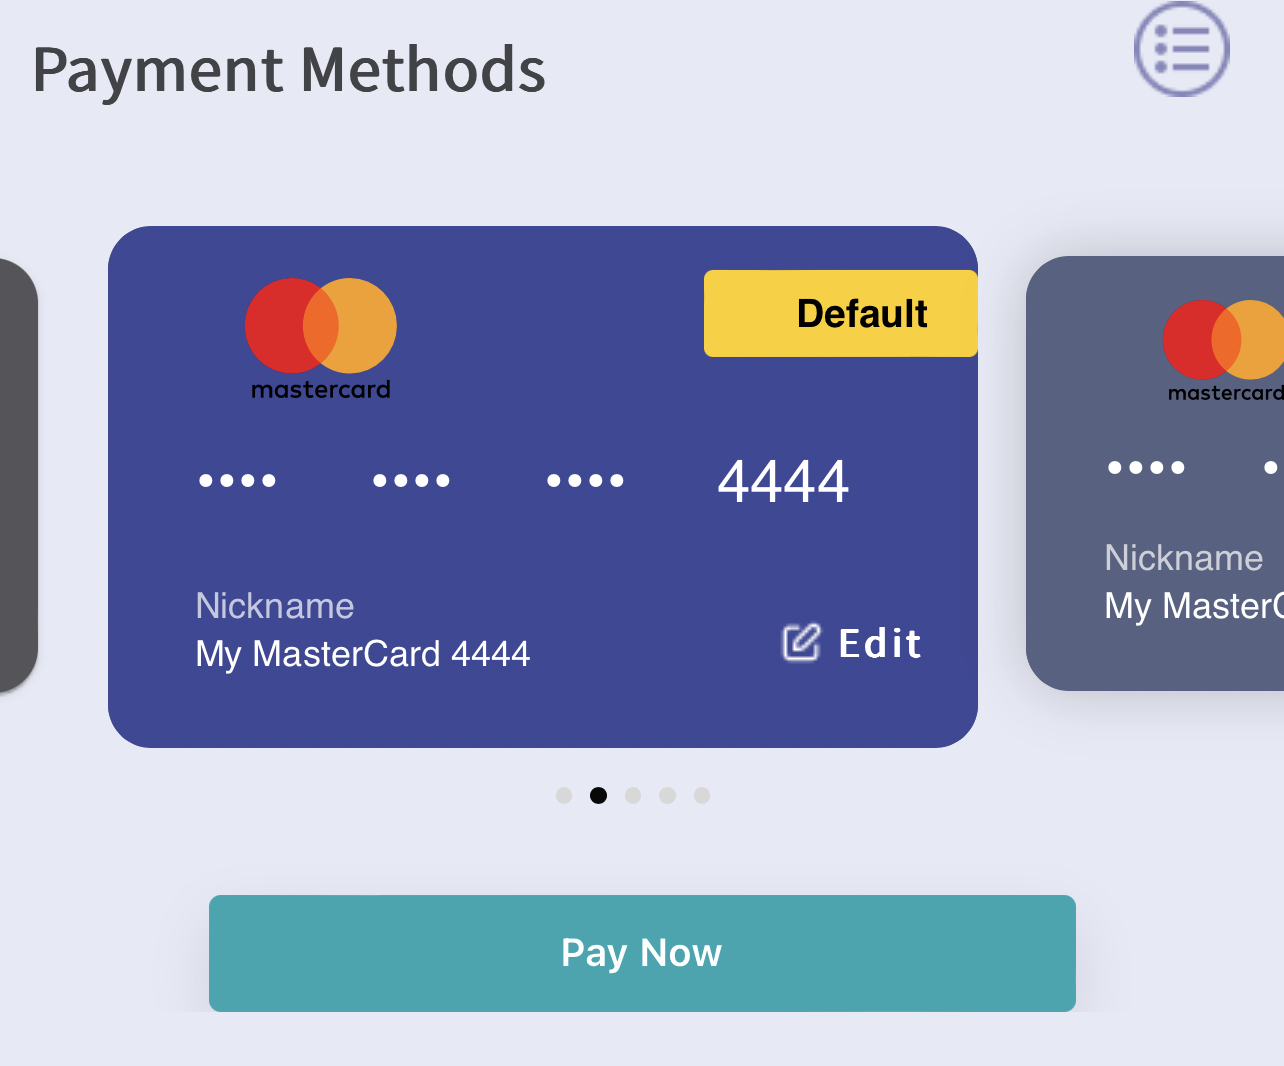
If the user already has cards in the Wink, the other cards will be shown also in the same carousel to the right of the Add a New Payment Tile like this
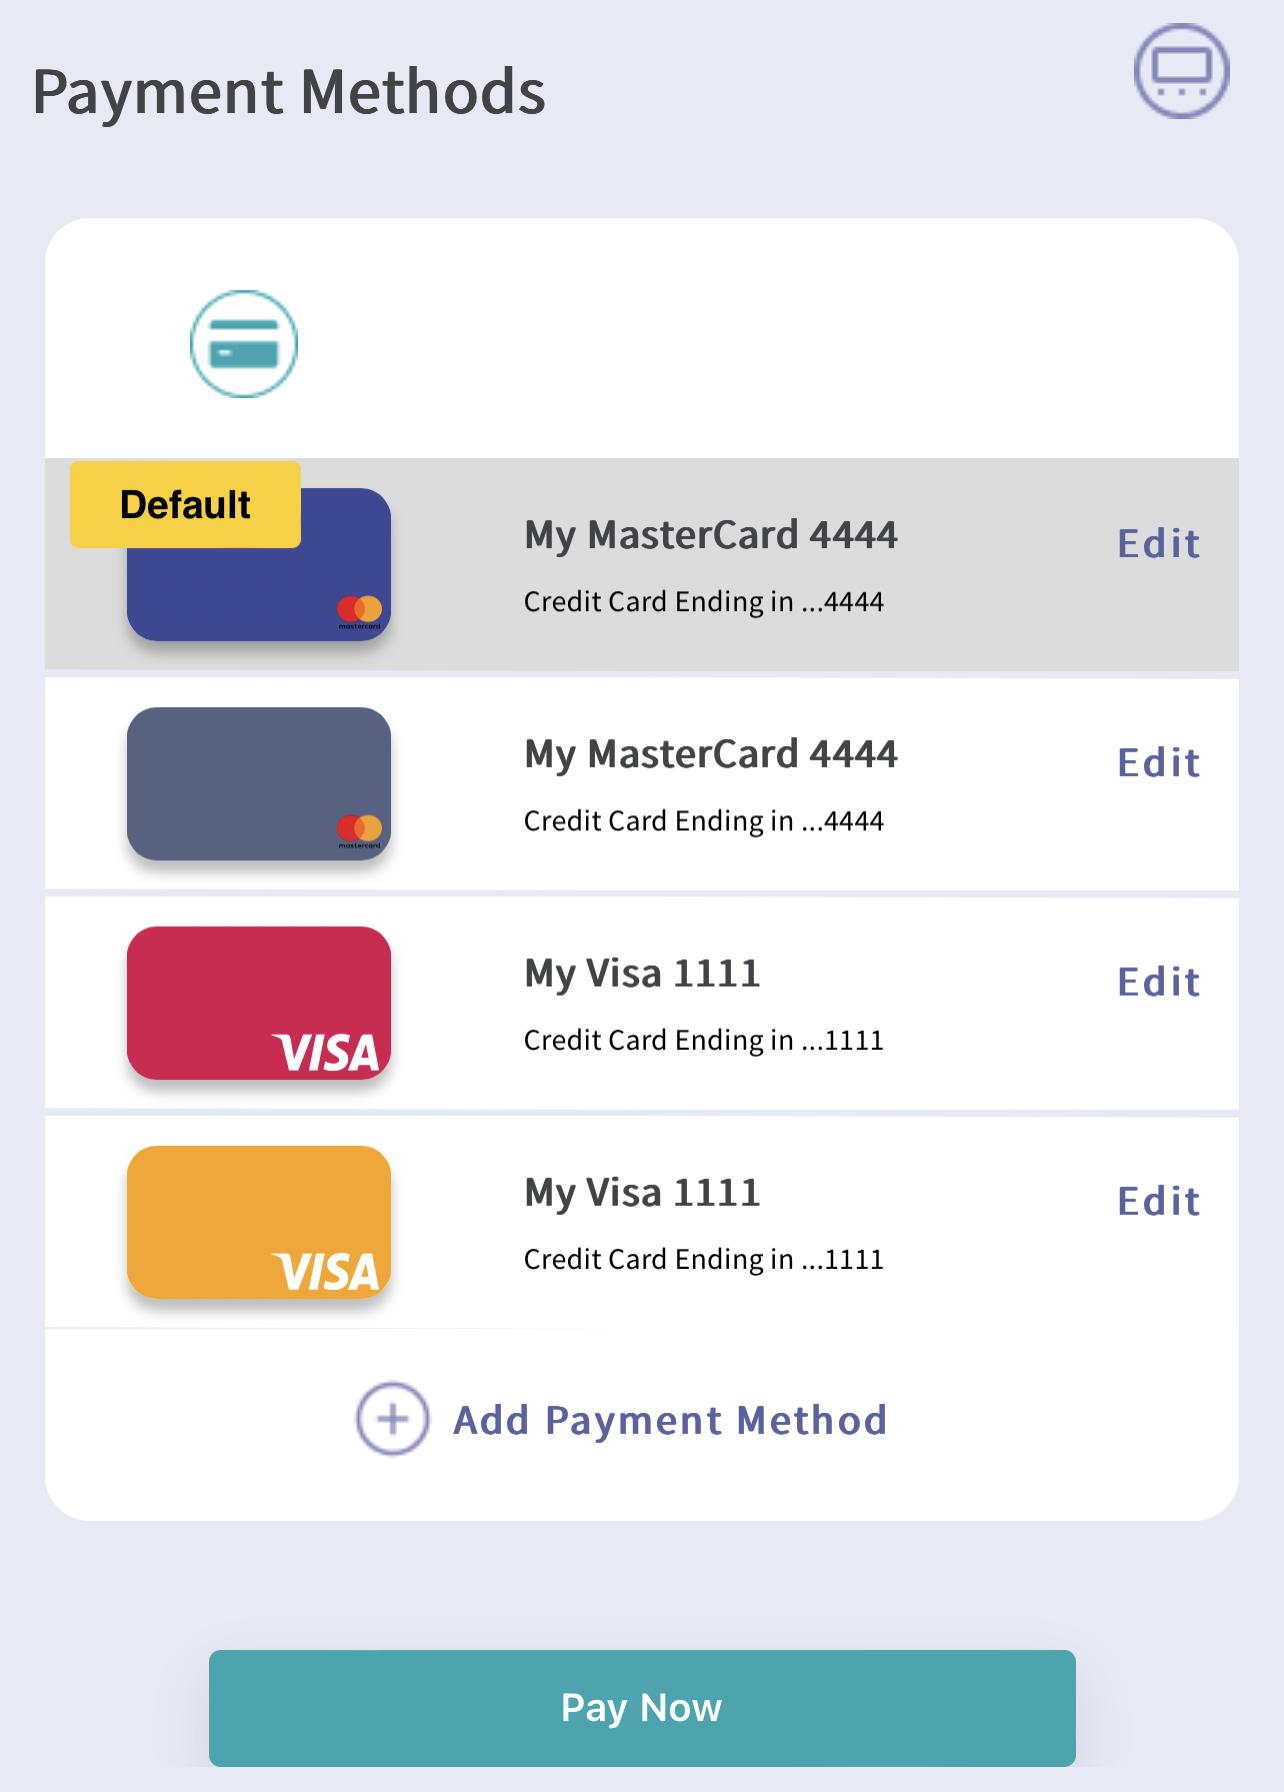
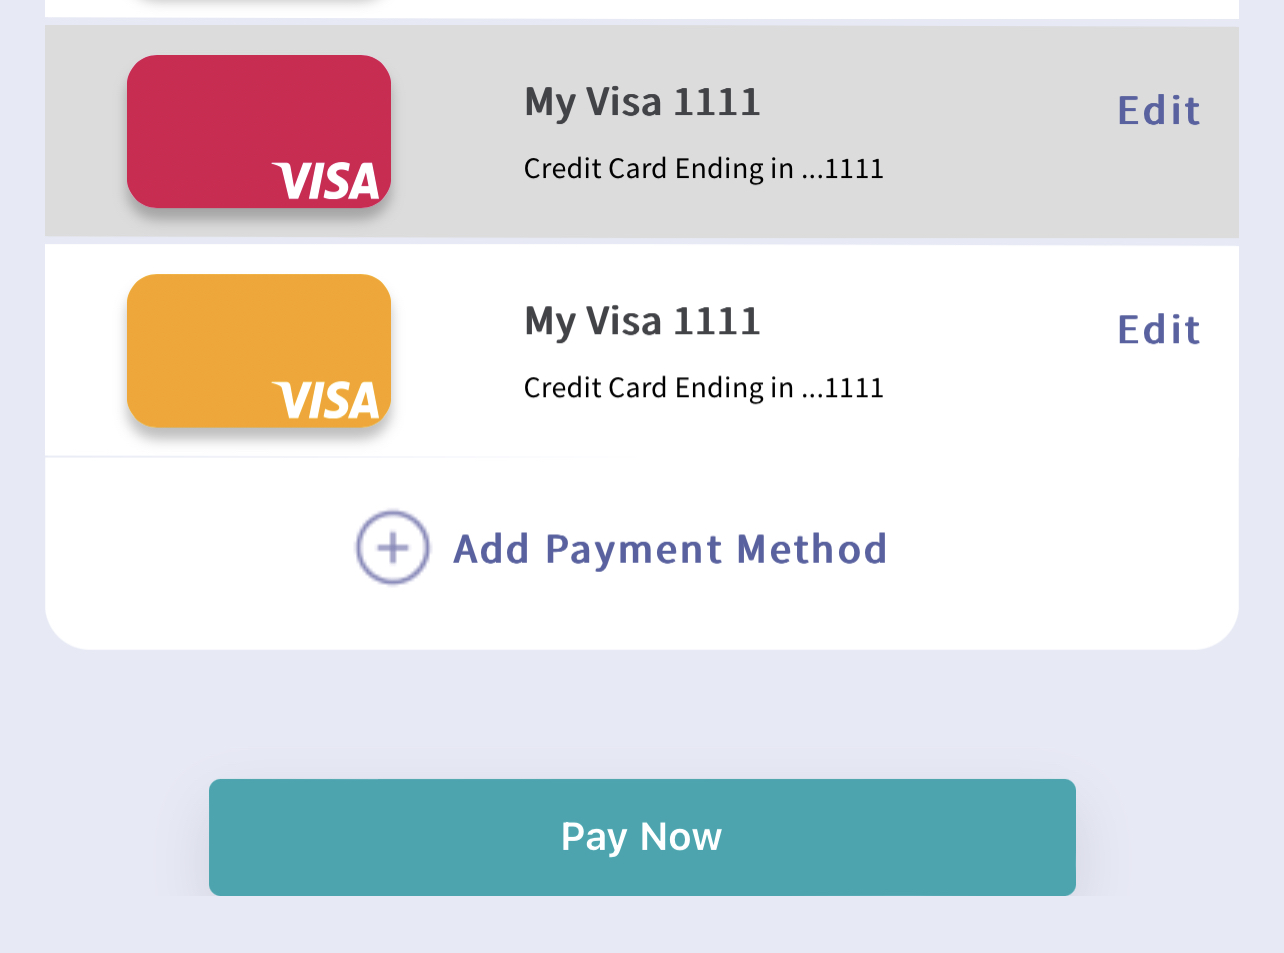
List View SupportedNote that clicking on the list icon on the top right will change the view from a Horizontal tiled view of the cards to a vertical list view. User can now toggle back to the tiled view by clicking the icon on the top also
Lets see how to add a New Card to Wink
Adding a New Card
Clicking on the + card tile ( or the Add Payment Method link in list view ) will launch a pop-up iFrame within the SDK to request new card details from the user.
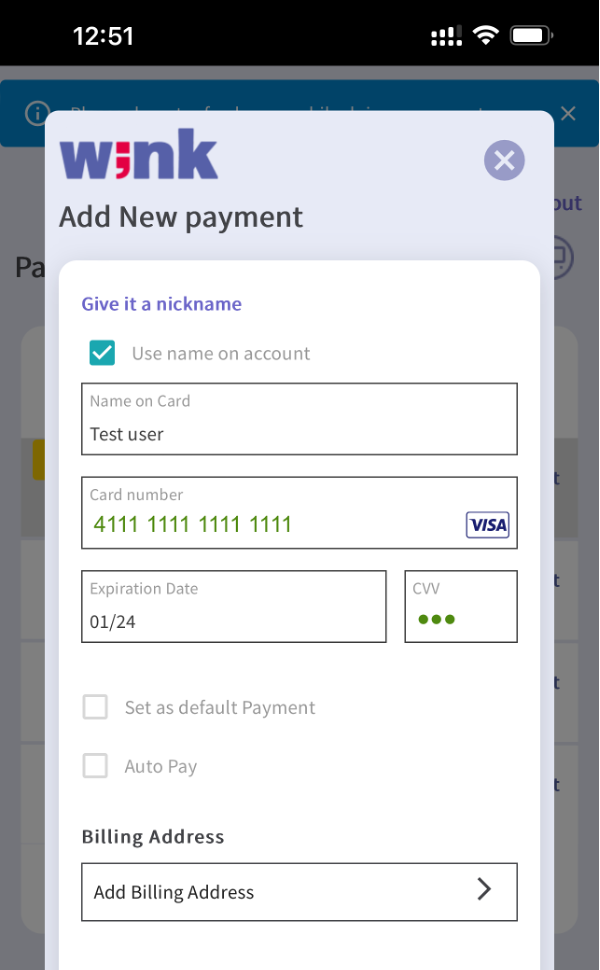
Note that if the user is in Guest Mode, the Use Name on Account option won't be available
The above Add Card Screen is completely secured and complies with PCI-DSS requirements. The card data entered here does not touch your front end or back end systems and is directly sent to our PCI compliant card data vault
Once the user has finished entering the card data, the user has to provide a Billing Address
Managing Billing Addresses
If there is no billing address for the user or the user is in Guest Mode, the Add Billing Address Option will be available.
Clicking on the Add Billing Address option will launch the following screen in the iFrame
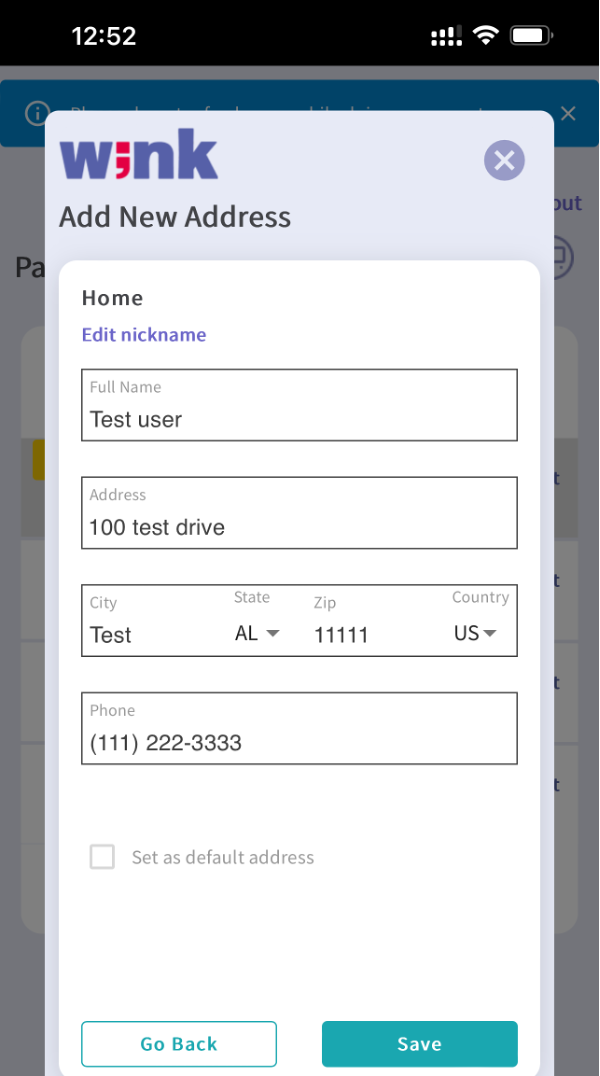
The user can enter a nickname for this address. Certain pre-selected nicknames like Home and Work are available. User can also setup a custom nickname for the address. If the user wants to set this address as default, the Set as Default Address option can be clicked.
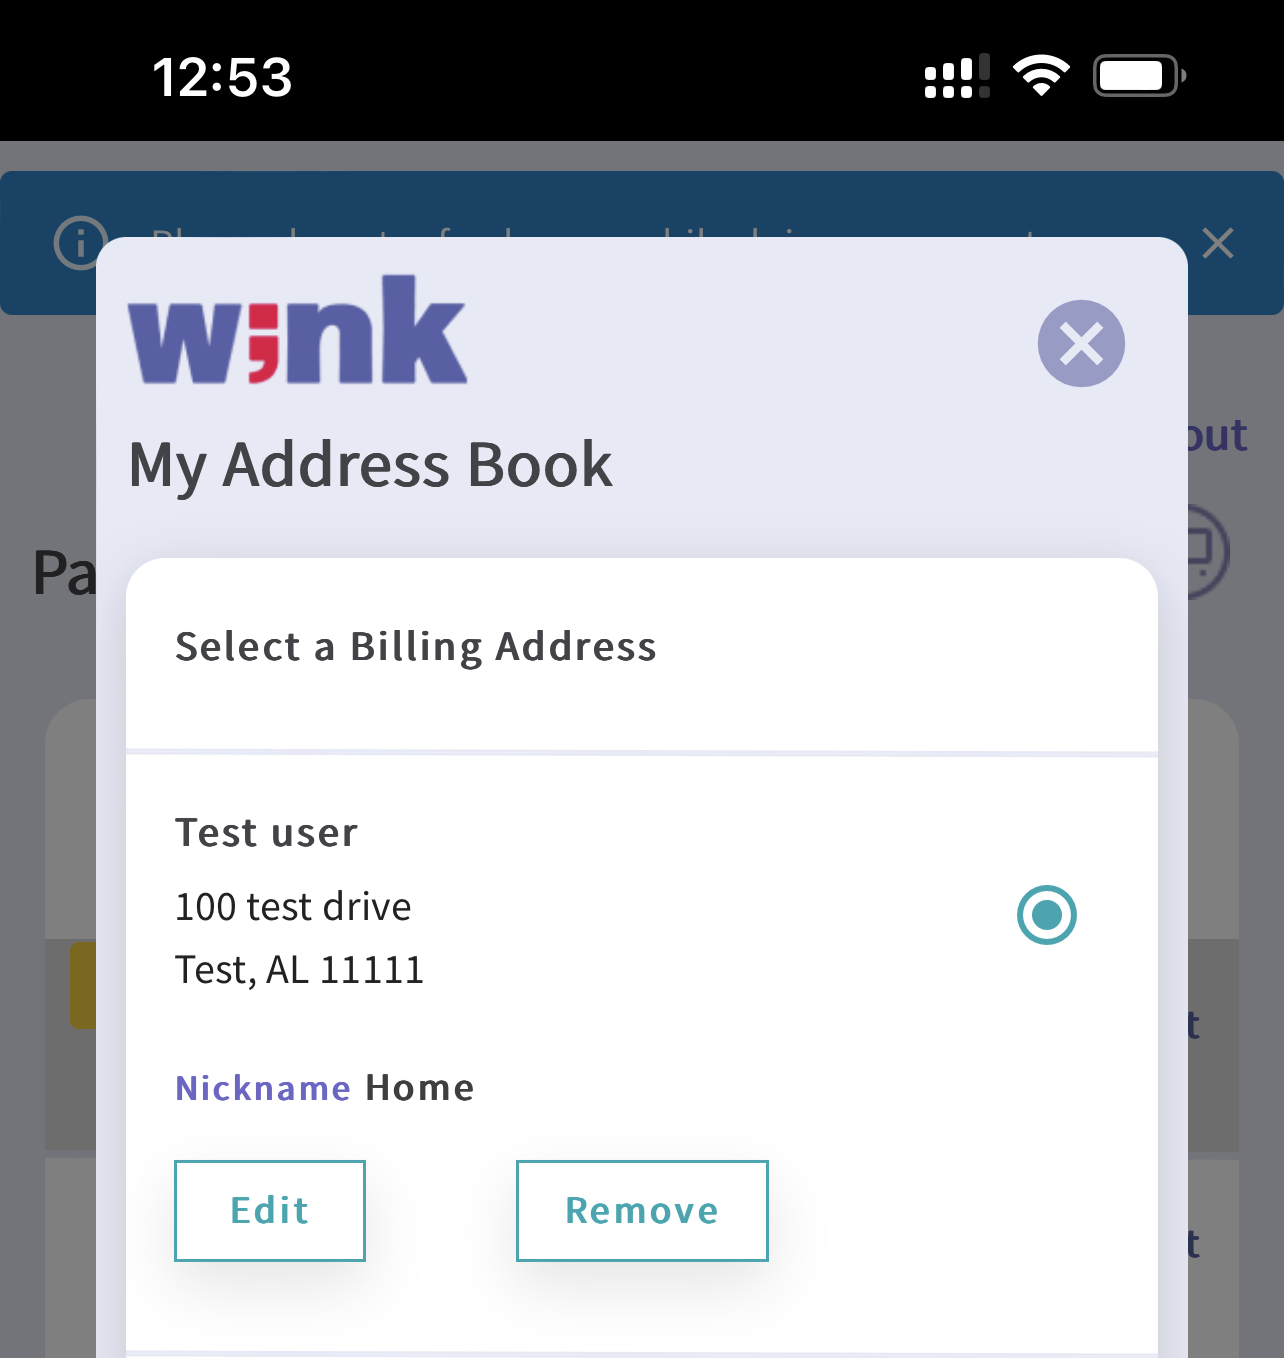
The user can manage several different billing addresses in their address book. If multiple addresses are available they will be shown in a list

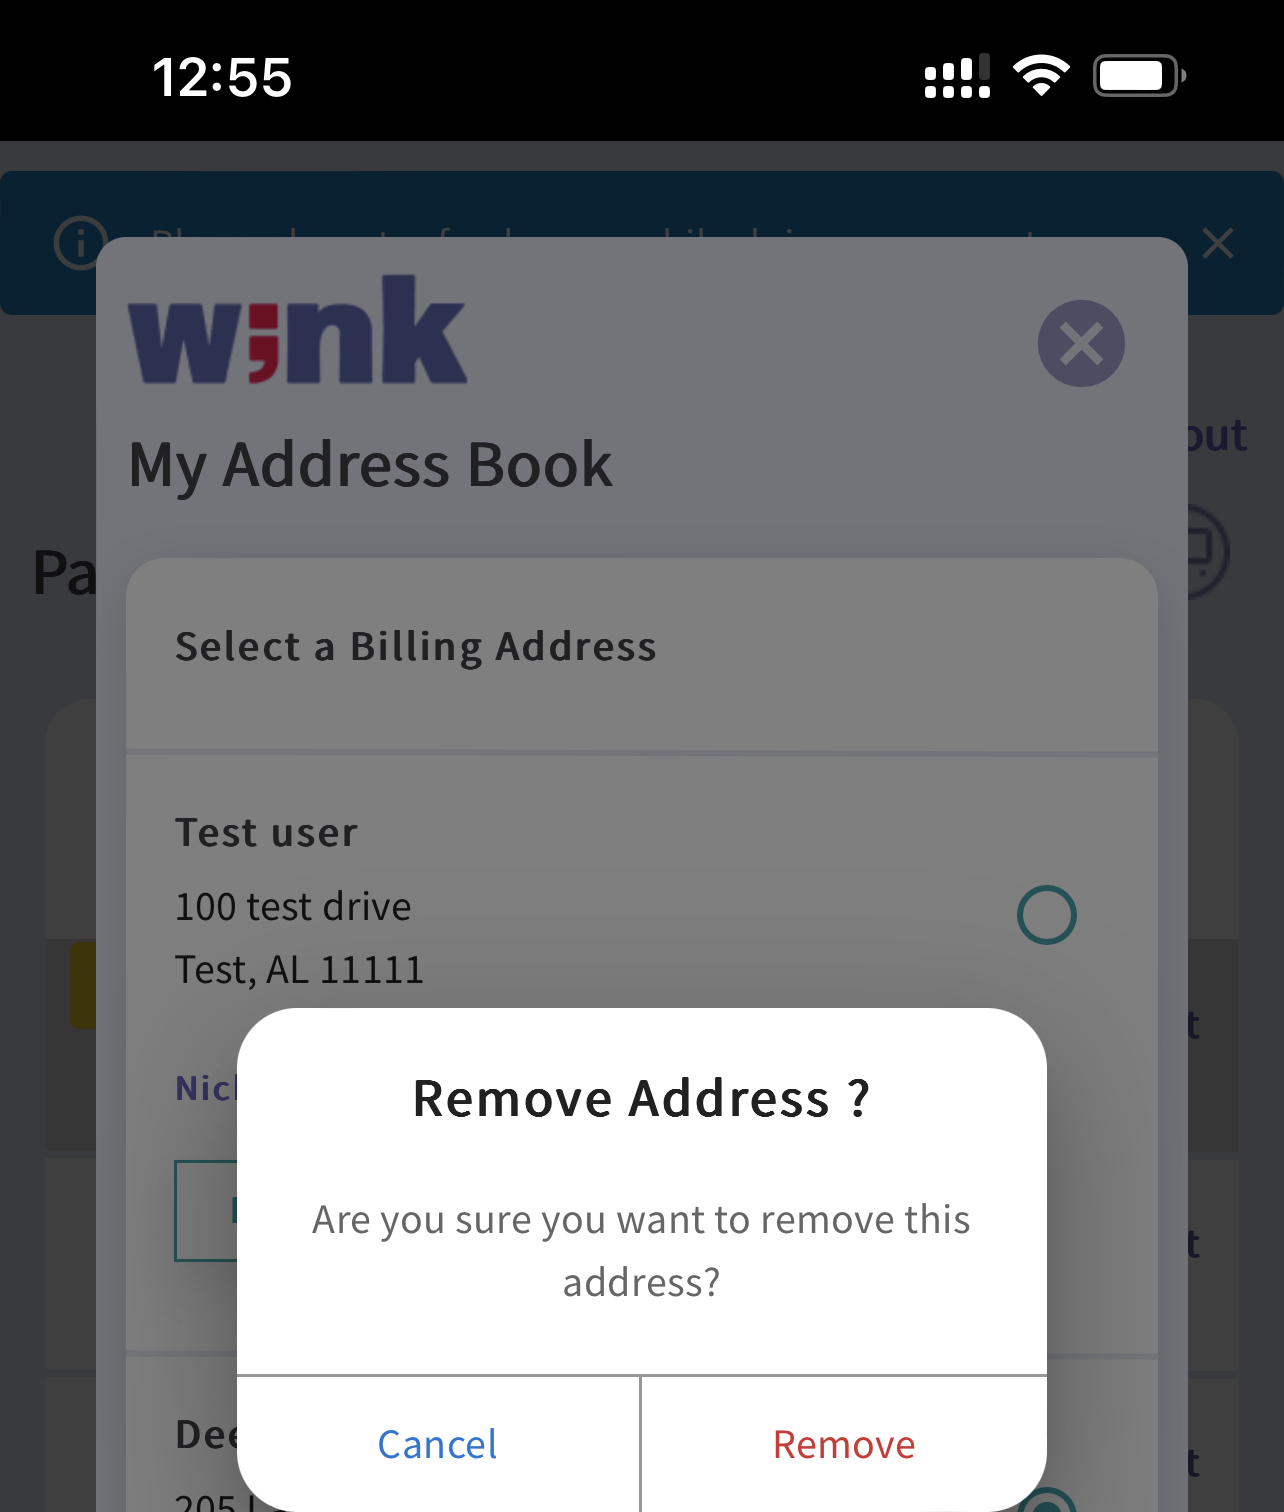
The user can also remove an address by selecting an address and clicking Remove. They will be asked for a confirmation once Remove is clicked
Once the address has been added, the user will be be able to add the card into Wink by clicking the Add Card Button
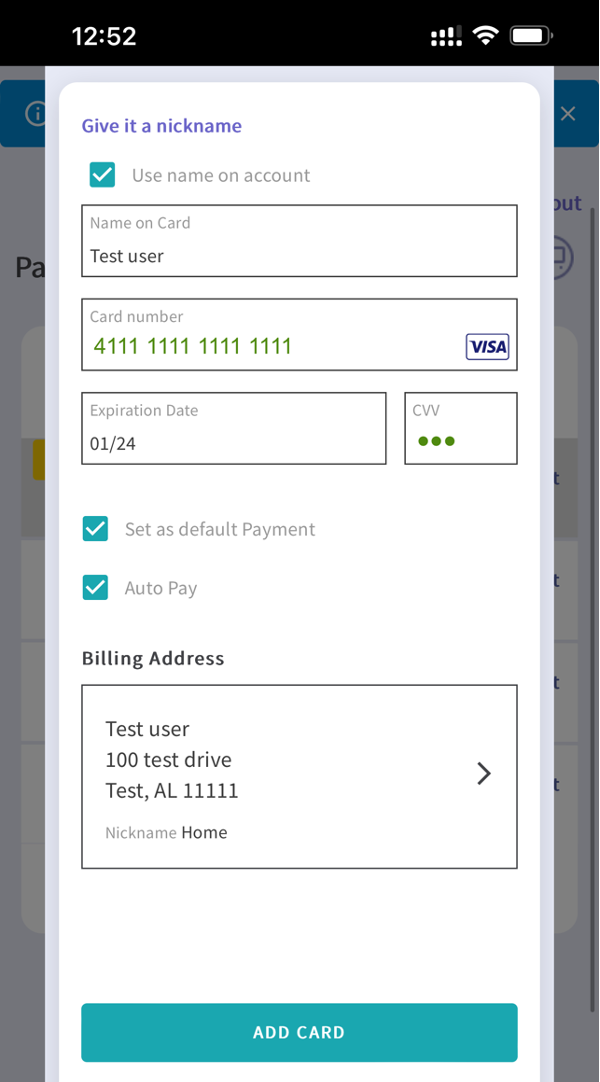
Note that before adding the card, a user can select the card as Default and turn Auto Pay on.Setting the card to Default means it will be the 1st card in the List of cards if there are multiple cards.
Setting the card to Auto Pay means it will automatically be selected as the user's preference in the Wink Payment SDK and the user doesn't need to click on any card
Note that only default cards can be used for the Auto Pay ( Single Click Checkout option )
Completing the Payment
Once the user has selected a card from the Carousel or list view the "Pay Now" button will appear.
Tiled View
List view
Clicking on the Pay Now button will launch a Confirmation Page asking the user to confirm the payment
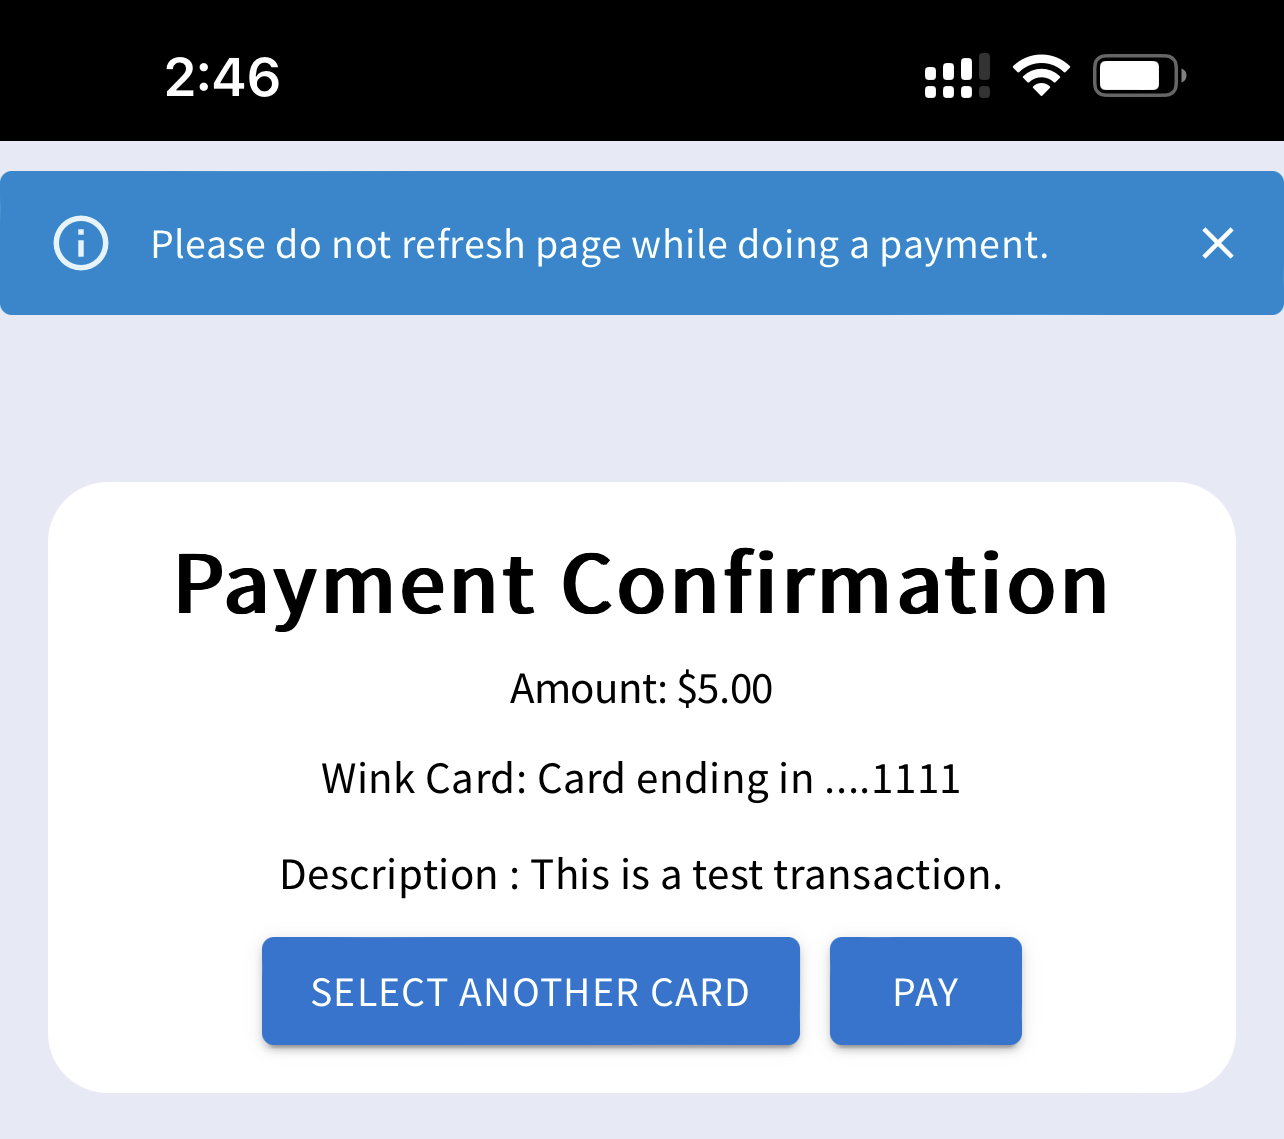
Clicking on Select Another Card will take the user back to the list of cards.
Clicking on Pay will send the final transaction to the Wink backend for routing it to your processor using the Payment APIs. See below
Payment Guest Flow
Once the user performs payment flow as a guest user so user will land here
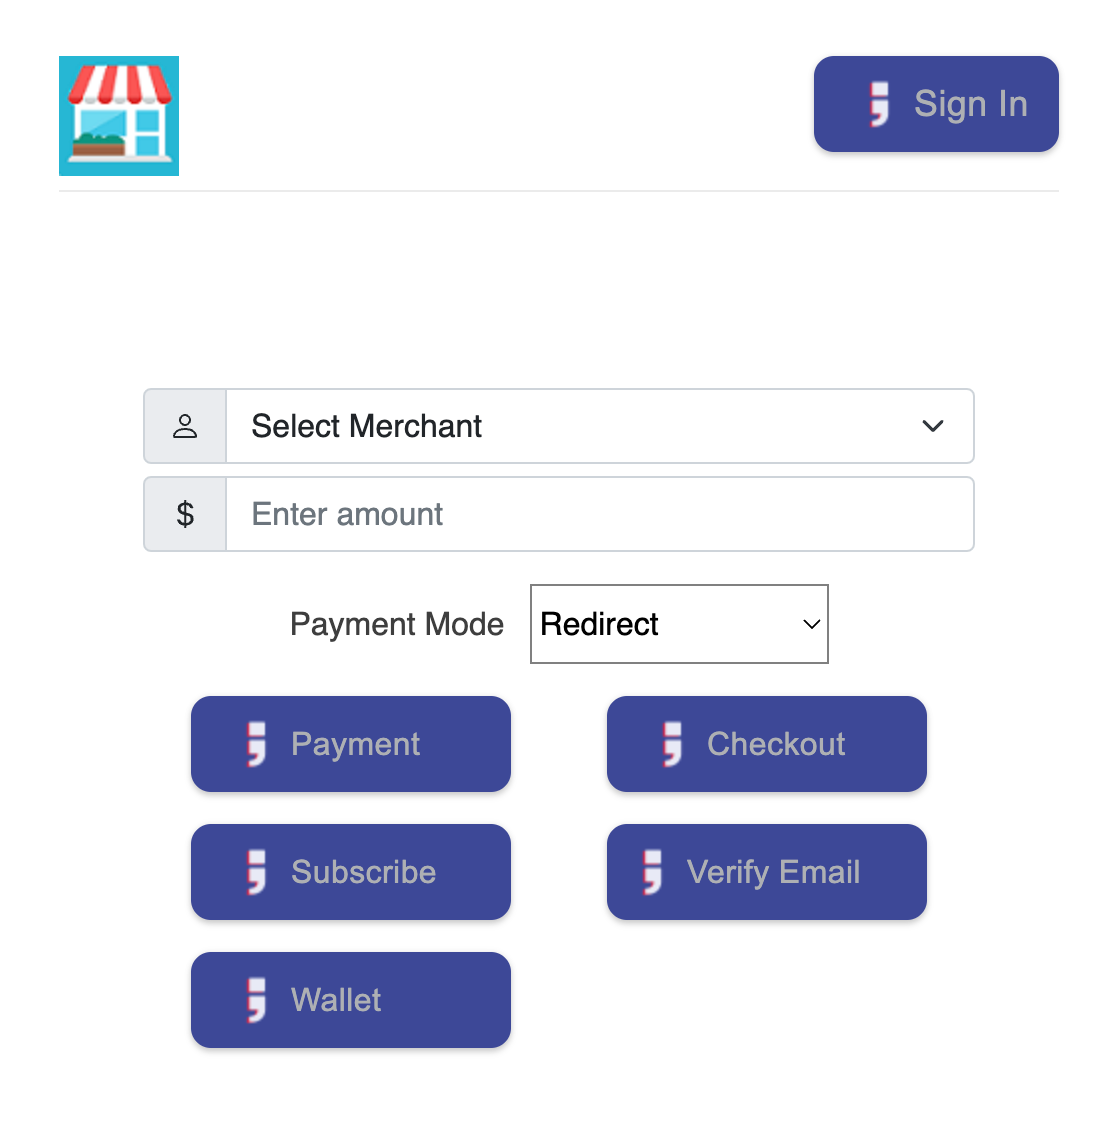
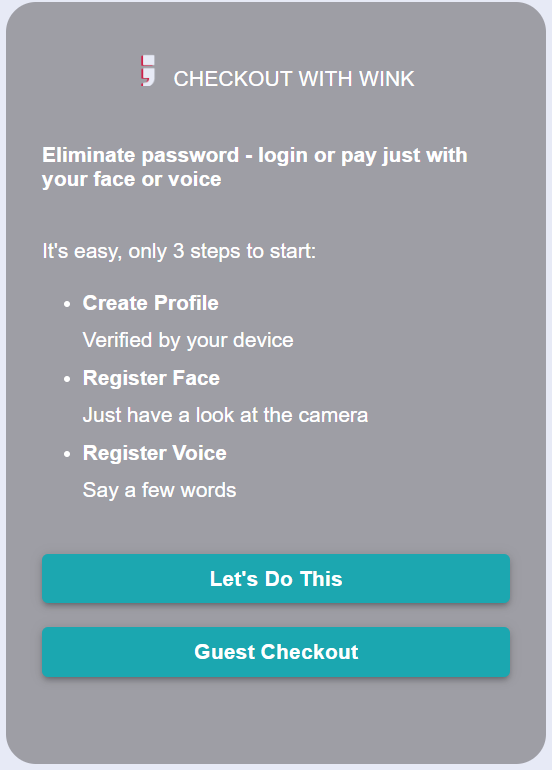
Click on the Guest Checkout button
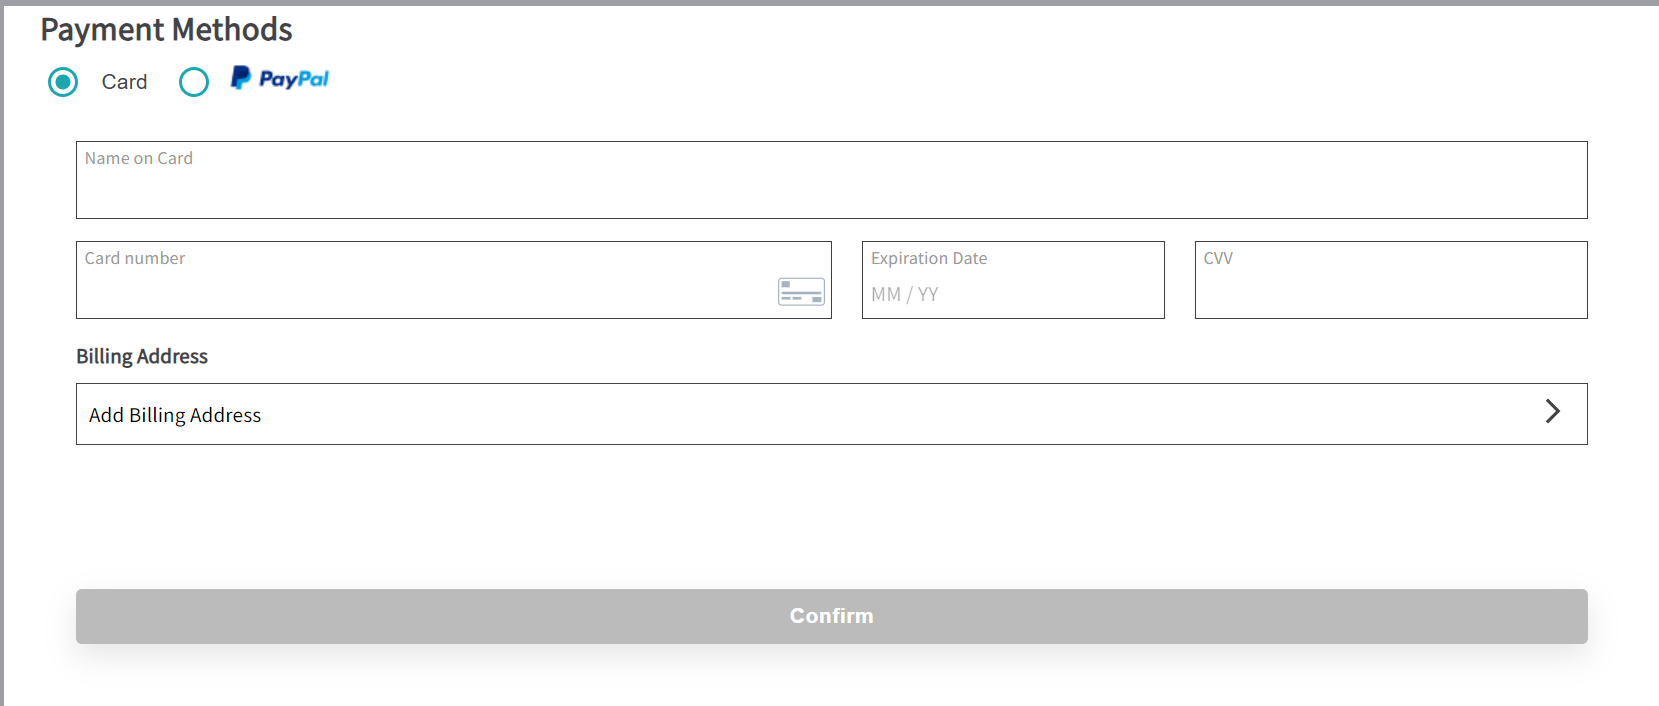
Users will have two options “Card” and “PayPal”
In the case of cards, the user can fill in the details, add the billing address, and make the payment.
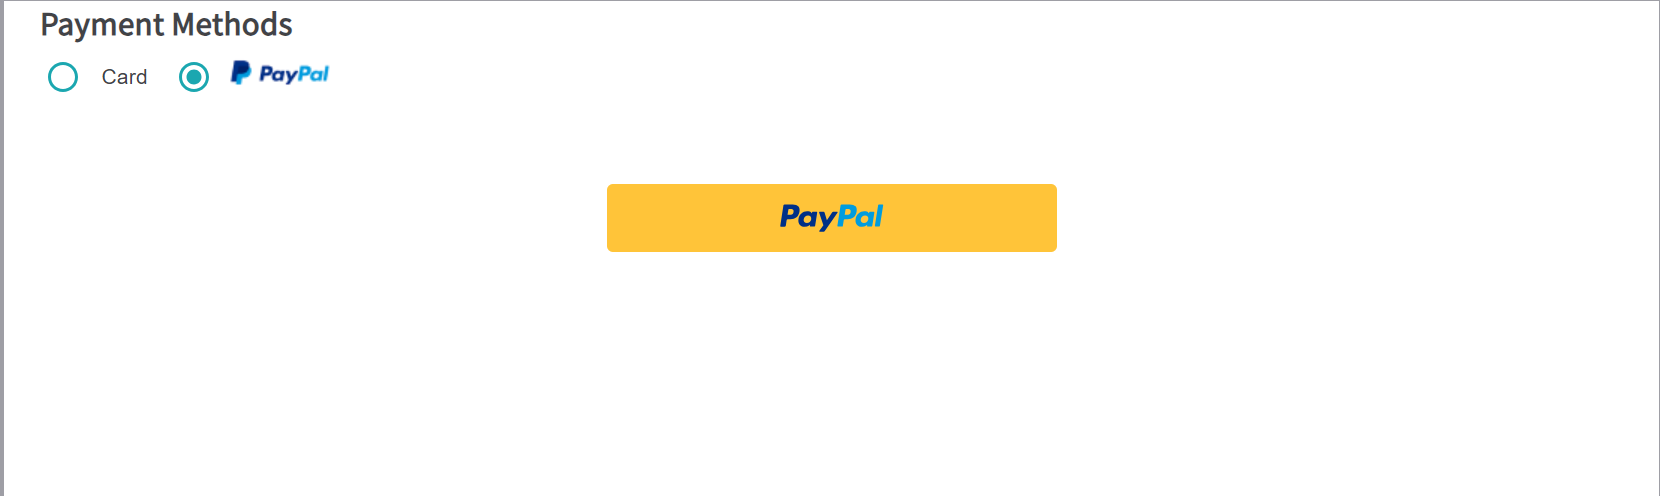
If the user selects the PayPal button
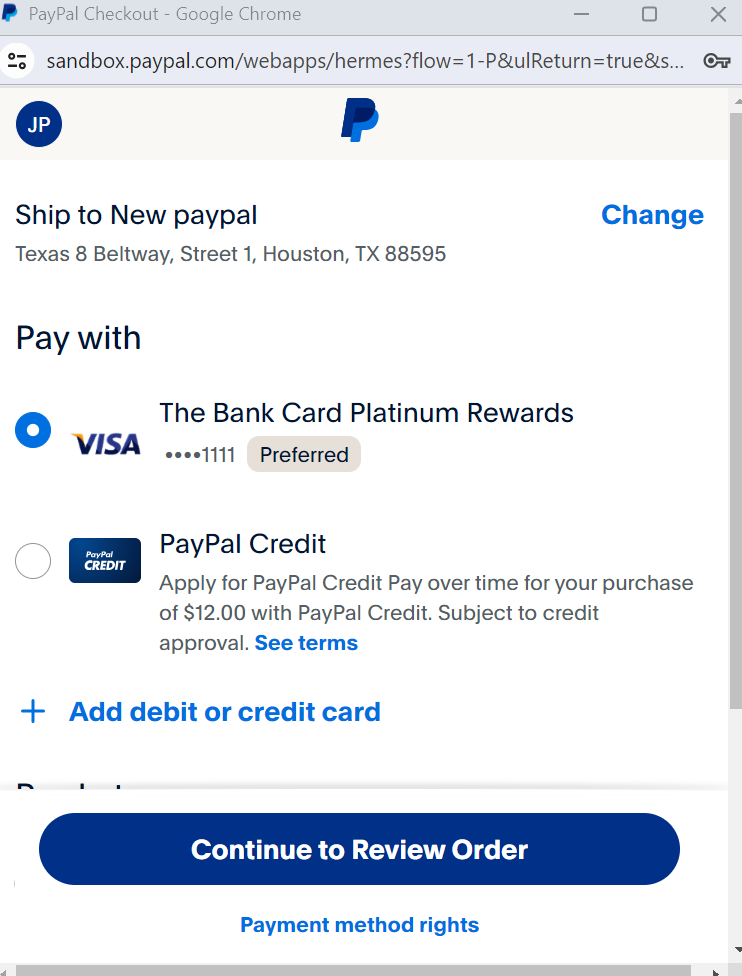
Confirm the details and click on the Continue to Review button

Now users can review the order details and make the payment.