Consumer Initiated Payments ( CIT )
CIT Payments follows a simple flow for one time payment to happen in your application where the consumer is present and is providing authorization for their payment method to be charged in connection with a transaction
Here are the steps to perform a CIT Payment
CIT Payment
Step 1: Calculate final amount to be charged and Payment button
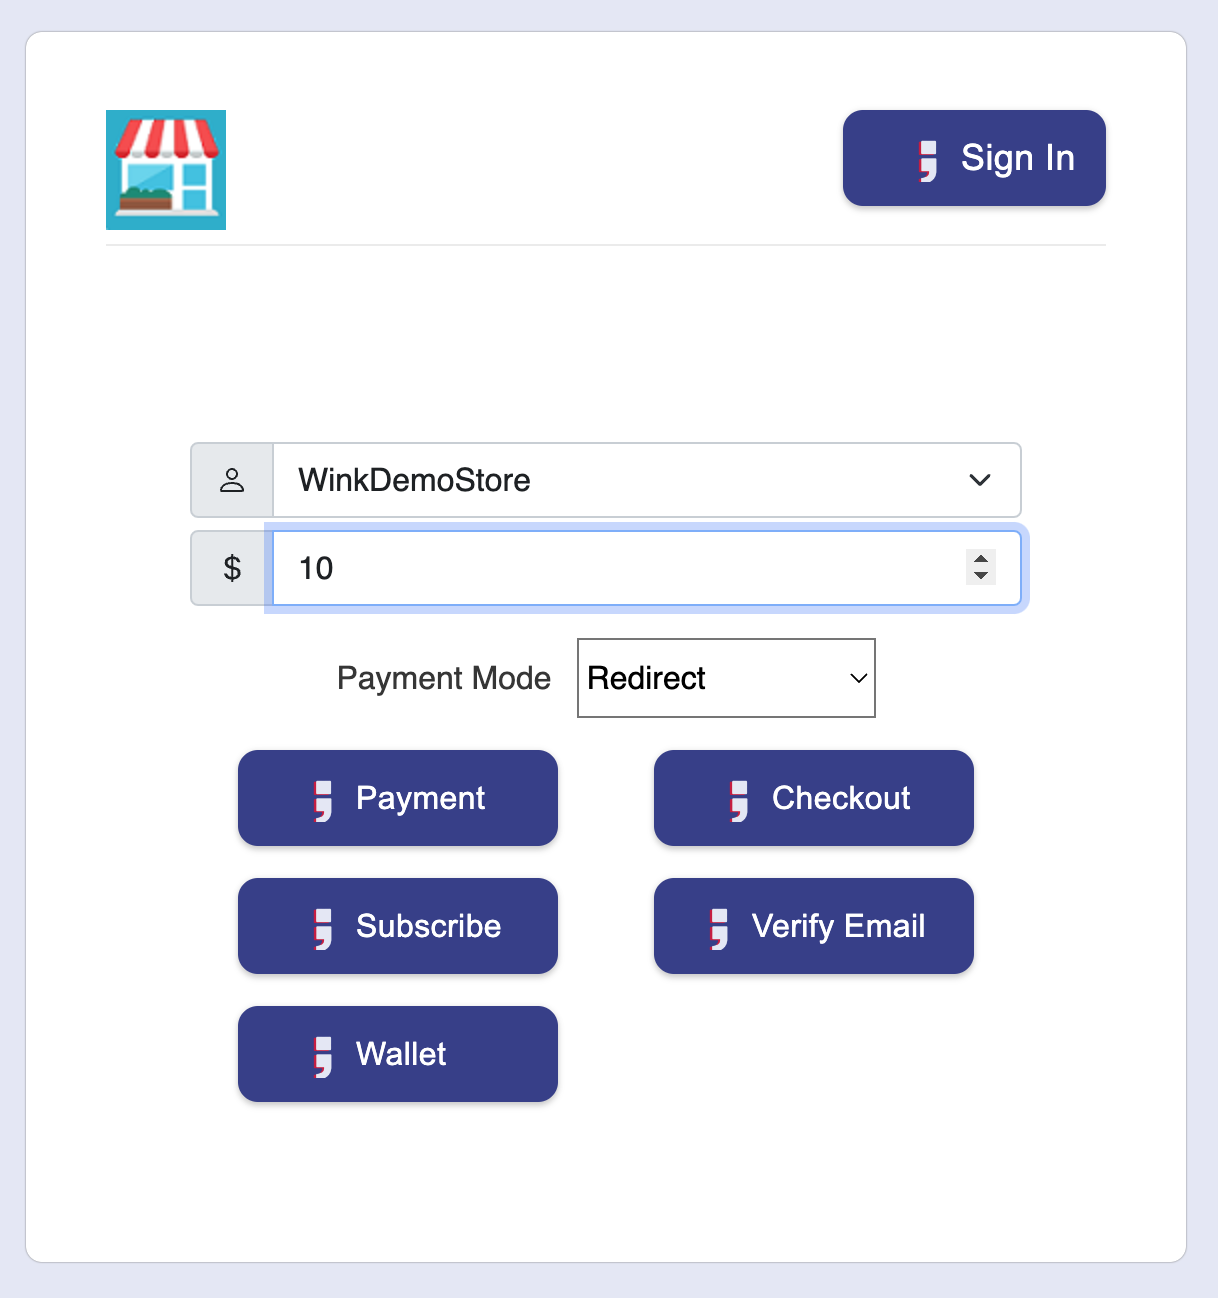
The following pic shows a demo store where a payment button has been placed below the final amount collection on the web application. The actual design of this page should be as per your own application's purchase page. Note that the Wink Payment SDK can be used in Redirect, Embedded iFrame or Overlay iFrame modes. For the purpose of this section we are using the Redirect mode but user experience remains the same in all modes.
Upon clicking the Payment Button, the Wink Payment SDK is launched.

Wink Payment SDK needs any amount which is greater than $1. In this version only US dollars are supported
Step 2a: Guest Mode
As an app developer, you can offer the Wink Payment SDK in purely guest mode or also incorporate Wink Login ( see Wink Login ) to offer a more personalized and secure sign-in experience.
The above pic shows the demo page has the Sign-in button using Wink Login on the top right. It is optional. Using the SDK in guest mode, that button can simply be hidden or not placed at all.
If the user clicks on the Payment Button without signing-in to Wink first, they will be redirected to the following page
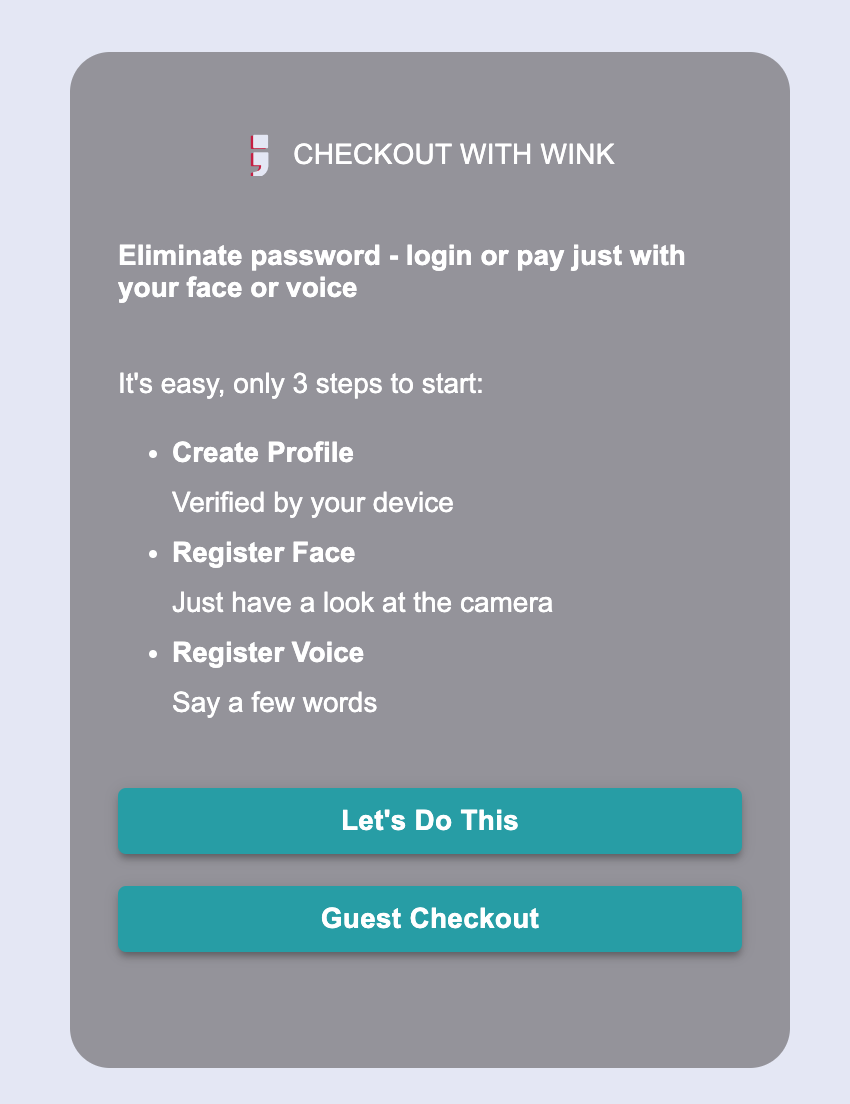
To continue with guest mode, the user can click on "Guest Checkout"
On clicking Guest Checkout, the user will be taken to "Managing Payment Methods" on the Wink page of the SDK.
Step 2b: Signed in Mode
As an app developer, you can incorporate Wink Login ( see Wink Login ) to offer a more personalized and secure sign-in experience. The following shows the user clicking on the Sign-in option at the top of the demo page. By clicking Sign-in, the user is redirected to Wink Login and on successful login, is redirected back to the merchant page. In this case, the button changes to logout as shown below
Now when the user clicks on Payment, he will be redirected to "Managing Payment Methods" on the Wink page of the SDK.
Wallet Mode
Wallet mode is only for logged-in users. user can log in on the merchant site or he can log in on the Wink Payment site. In this feature, users will be able to manage his/her cards. He/she can add, update, and delete cards.
Note: There will be no option to make payment in the Wallet Mode.
Verify Email
Verify Email feature is used to verify his/her email ID. After clicking on the Verify Email button, we will get another screen where the user can enter the email ID and can verify it.
Steps to verify email ID:
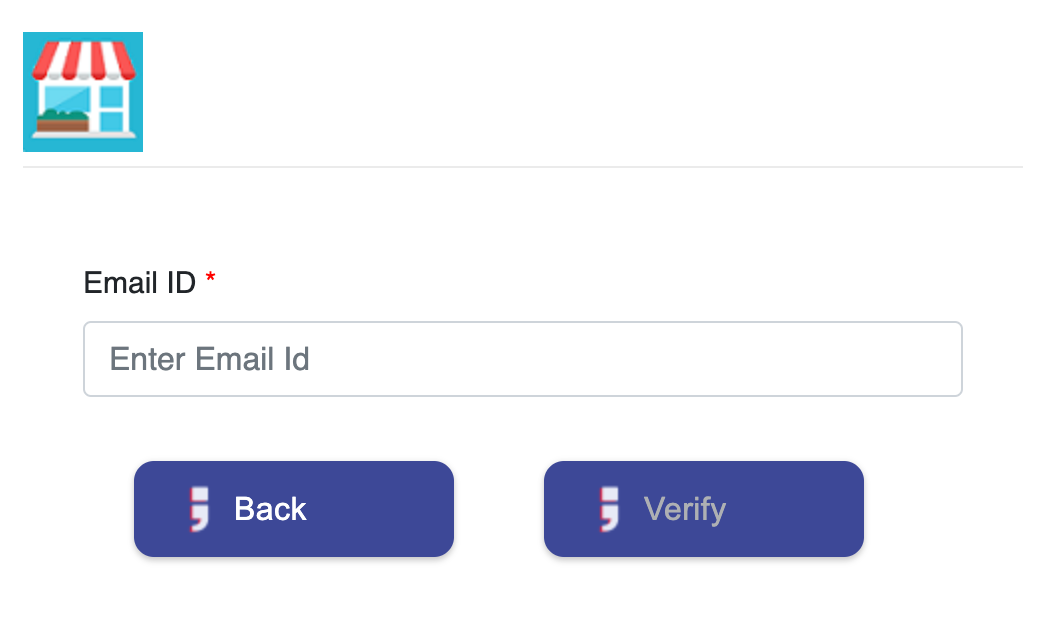
- Users need to enter a valid email and click on Verify Button.
- Users will get a link on their email ID.
- Users need to click on that link. He will redirected to Wink Login to verify biometric checks.
- Once checks are completed, he will redirected to Wink Wallet and will get a success/fail message.
Updated over 1 year ago
What’s Next
The following section shows how to Manage Payment Methods in Wink