Creating a Hosted Payment Page
This guide walks you through the essential steps to create a functional Hosted Payment Page (HPP) that merchants can immediately use to accept online payments.
1. Navigate to the Hosted Payment Page
Go to Hosted Payment Page from the main navigation menu.

2. Create a New Hosted Payment Page
Click the +New Hosted Payment Page button to begin creating a new page.

3. Enter the General Settings
Fill in the basic page details.
- Enter the Name
- Enter the Title
- Toggle Is Active if the page should be available
- (Optional) Upload a Banner Image
- Click the Select Files to choose a banner image file on your local device or drop the file into the field
- (Optional) Toggle Hide Banner
Merchant ID and ID are automatically populated.

4. Configure Page Actions (Optional)
Set optional redirect URLs.
- Enter a Submit URL
- Enter an Edit URL
- Enter a Continue URL

These fields may be left blank if you want to use the default hosted receipt page.
5. Configure Donations (Optional)
Enable donation options if applicable.
- Toggle Enable Donation Amounts
- Enter Donation Amounts, separated by commas

6. Adjust Theme Settings (Optional)
Customize the appearance of the page.
- Set page colors
- Adjust font and header styles
- Customize panel and input field colors
- Add Custom CSS
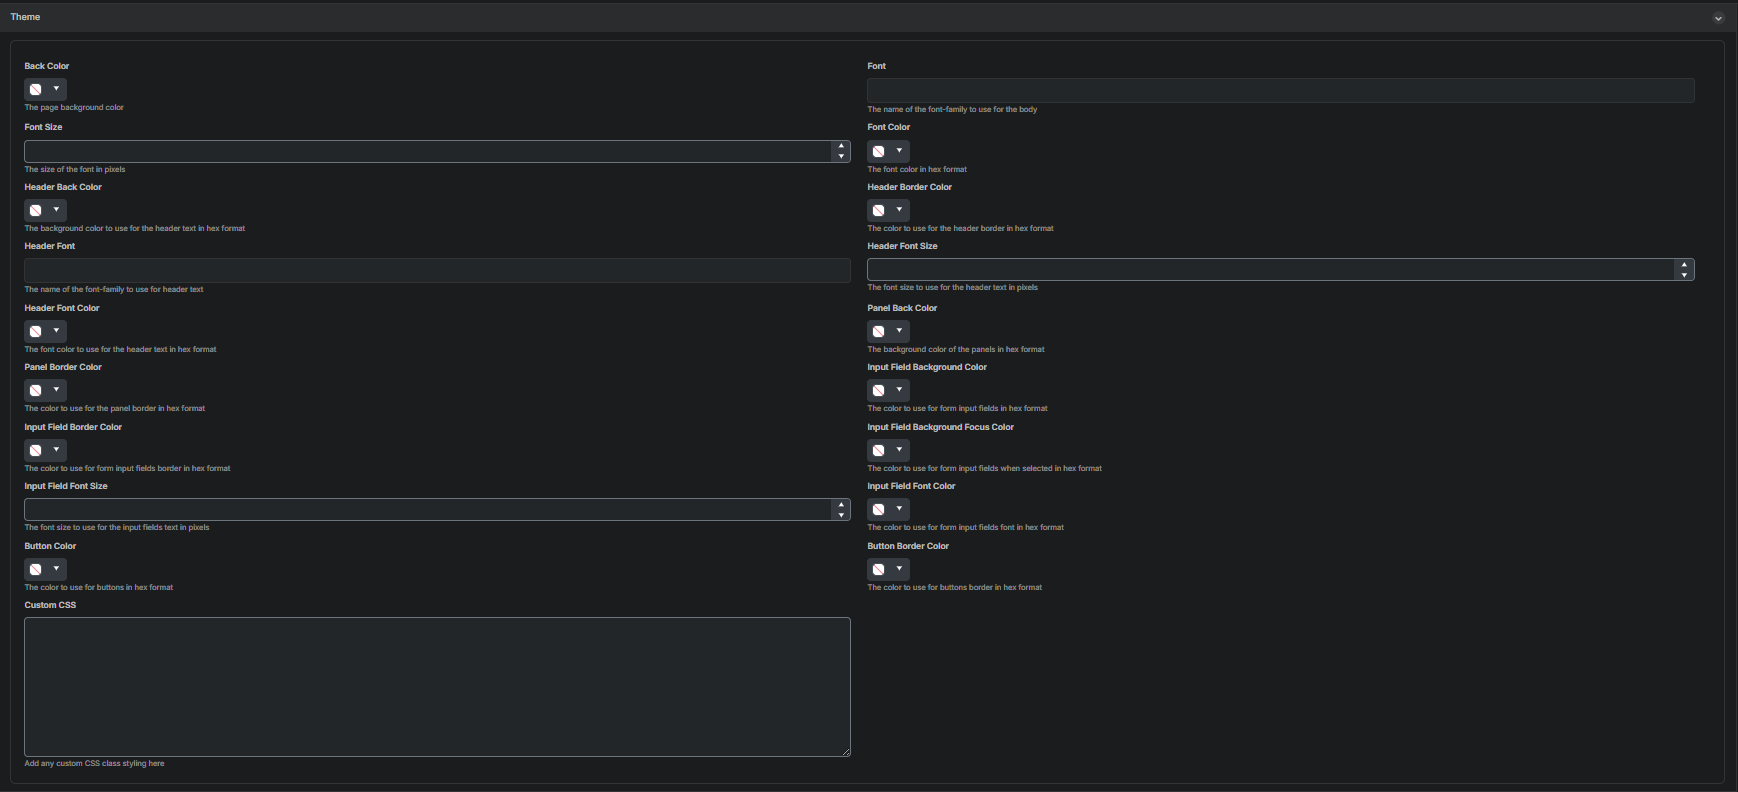
Leave these unchanged to use default styling.
7. Select Fields and Panels
Choose which fields and panels should appear on the Hosted Payment Page.
- Enable or disable any of the available fields
- Customize panel labels as needed
- Toggle whether header text is shown for each panel
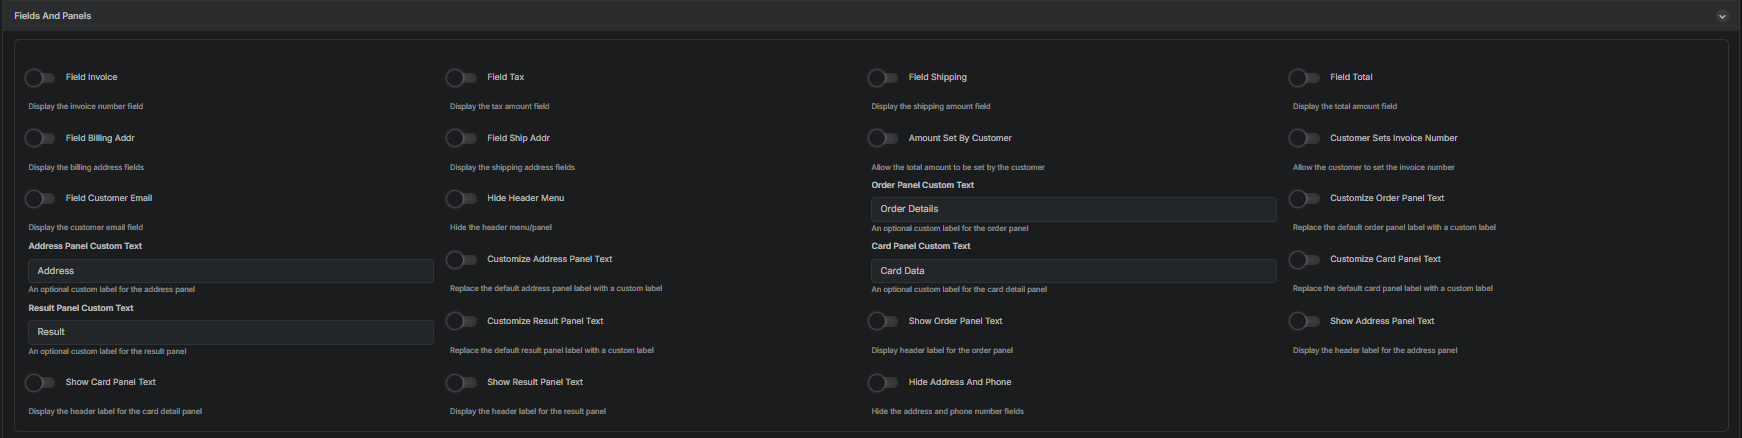
Only enable the fields you want customers to complete.
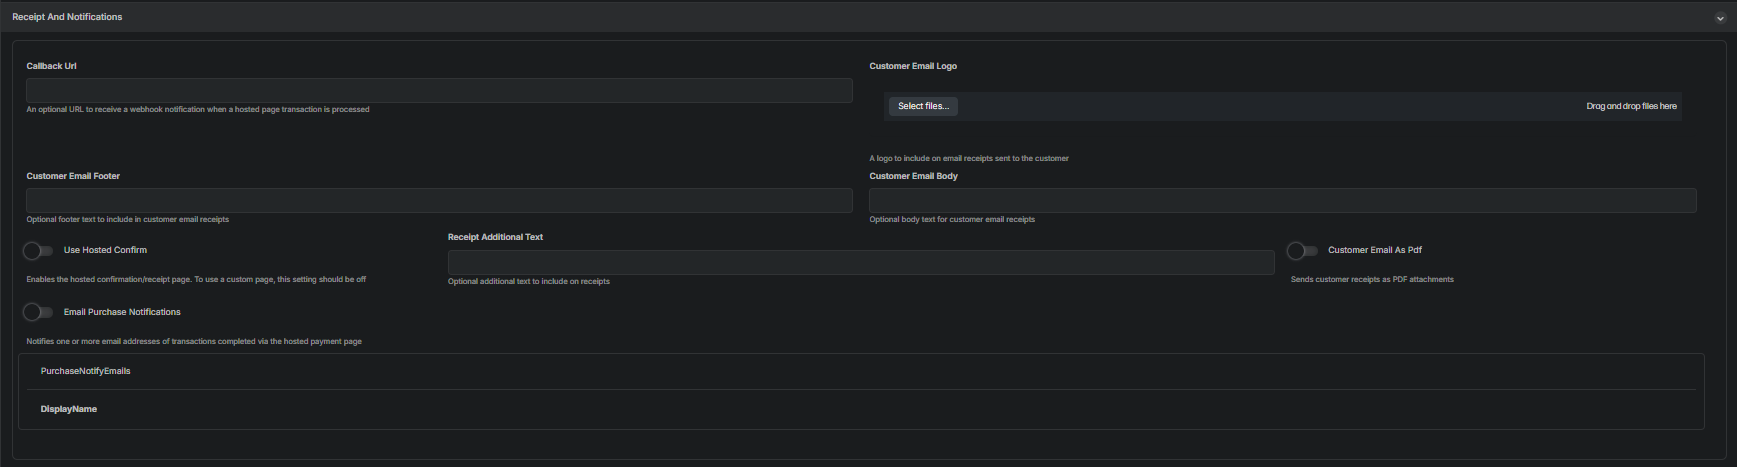
8. Configure Receipt and Notification Settings (Optional)
Set how customers and merchants receive payment confirmations.
- Enter a Callback URL
- Upload a Customer Email Logo
- Enter Customer Email Body or Footer text
- Toggle Use Hosted Confirm
- Enter Receipt Additional Text
- Toggle Customer Email as PDF
- Enter email addresses for Email Purchase Notifications
9. Add Disclosures (Optional)
Add terms, notices, or required acceptance text.
- Enter Disclosure Text
- Toggle Show Disclosures
- Toggle Require Disclosure Accept

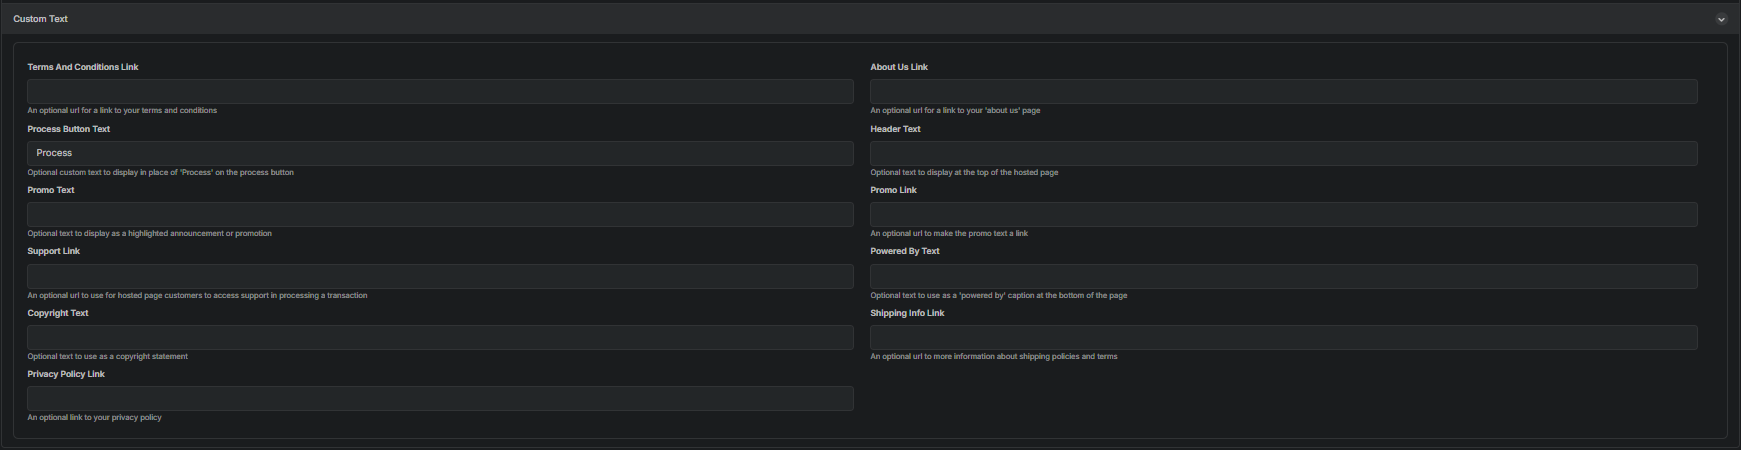
10. Add Custom Text and Links (Optional)
Personalize customer-facing labels and links.
- Enter Header Text
- Enter Process Button Text
- Enter Promo Text and Promo Link
- Enter links for:
- Terms and Conditions
- About Us
- Support
- Shipping Info
- Privacy Policy
- Enter Powered By Text
- Enter Copyright Text
11. Save the Hosted Payment Page
Select Save to complete setup.

Updated 8 months ago