Integrating Merchant Initiated Payments (MIT)

The Javascript SDK offered by Wink needs to be placed on your application front end

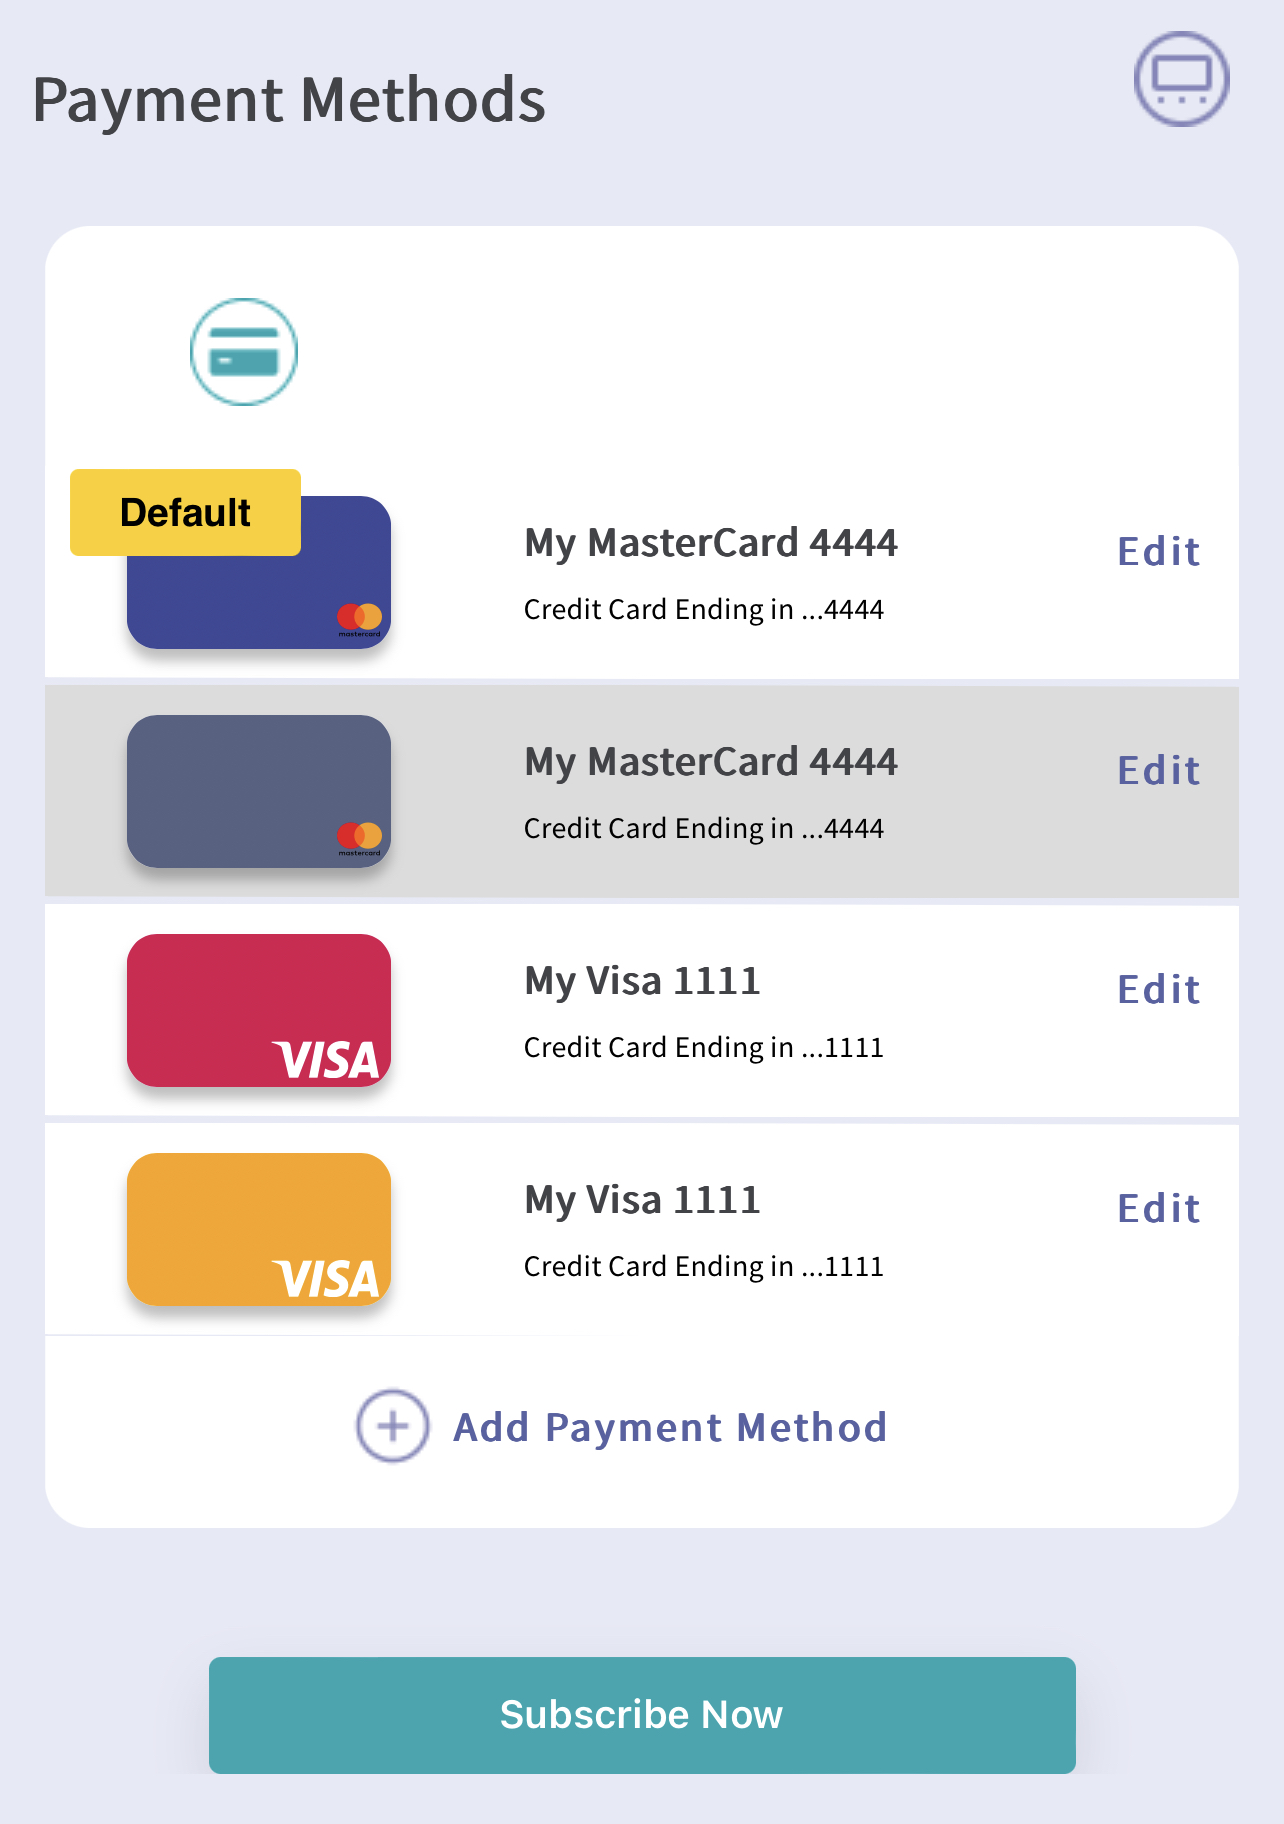
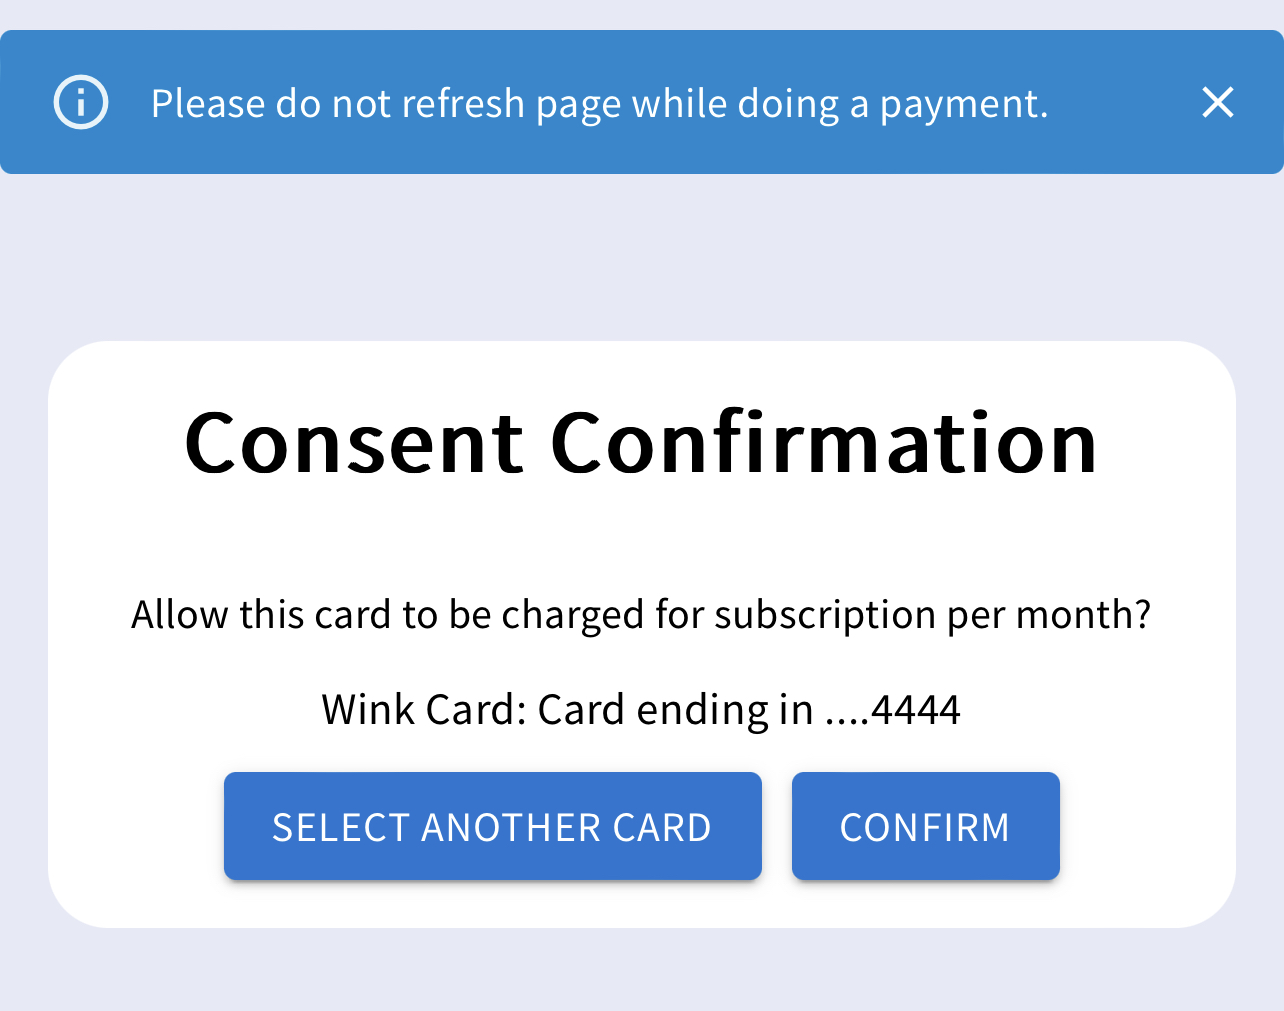
You can review the expected user experience for MIT payments in our User Experience guide here

🚧

Signed-in Mode (Wink Login) ONLY

Wink Payment SDK requires a secure payment mode via Wink Login to support Merchant Initiatied/Subscription ( MIT ) type payments. Please see the Integration guide here to integrate Wink Login in your website.

This page is describing the front end integration for achieving MIT payments

👍

MIT Payments integration requires you to do both Front End and Back End integration which we shall describe below

Front End MIT Integration via Wink Payment SDK

Step 1. Add the Wink Payment component to your webpage or app

The Javascript SDK is meant to be used on your application front end page where you are displaying the option to complete the purchase by clicking on a Payment button

You can include the script either on the index.html of your Single page client application or the home page of Server rendered web applications

For Sandbox and Production use the respective script tag from here

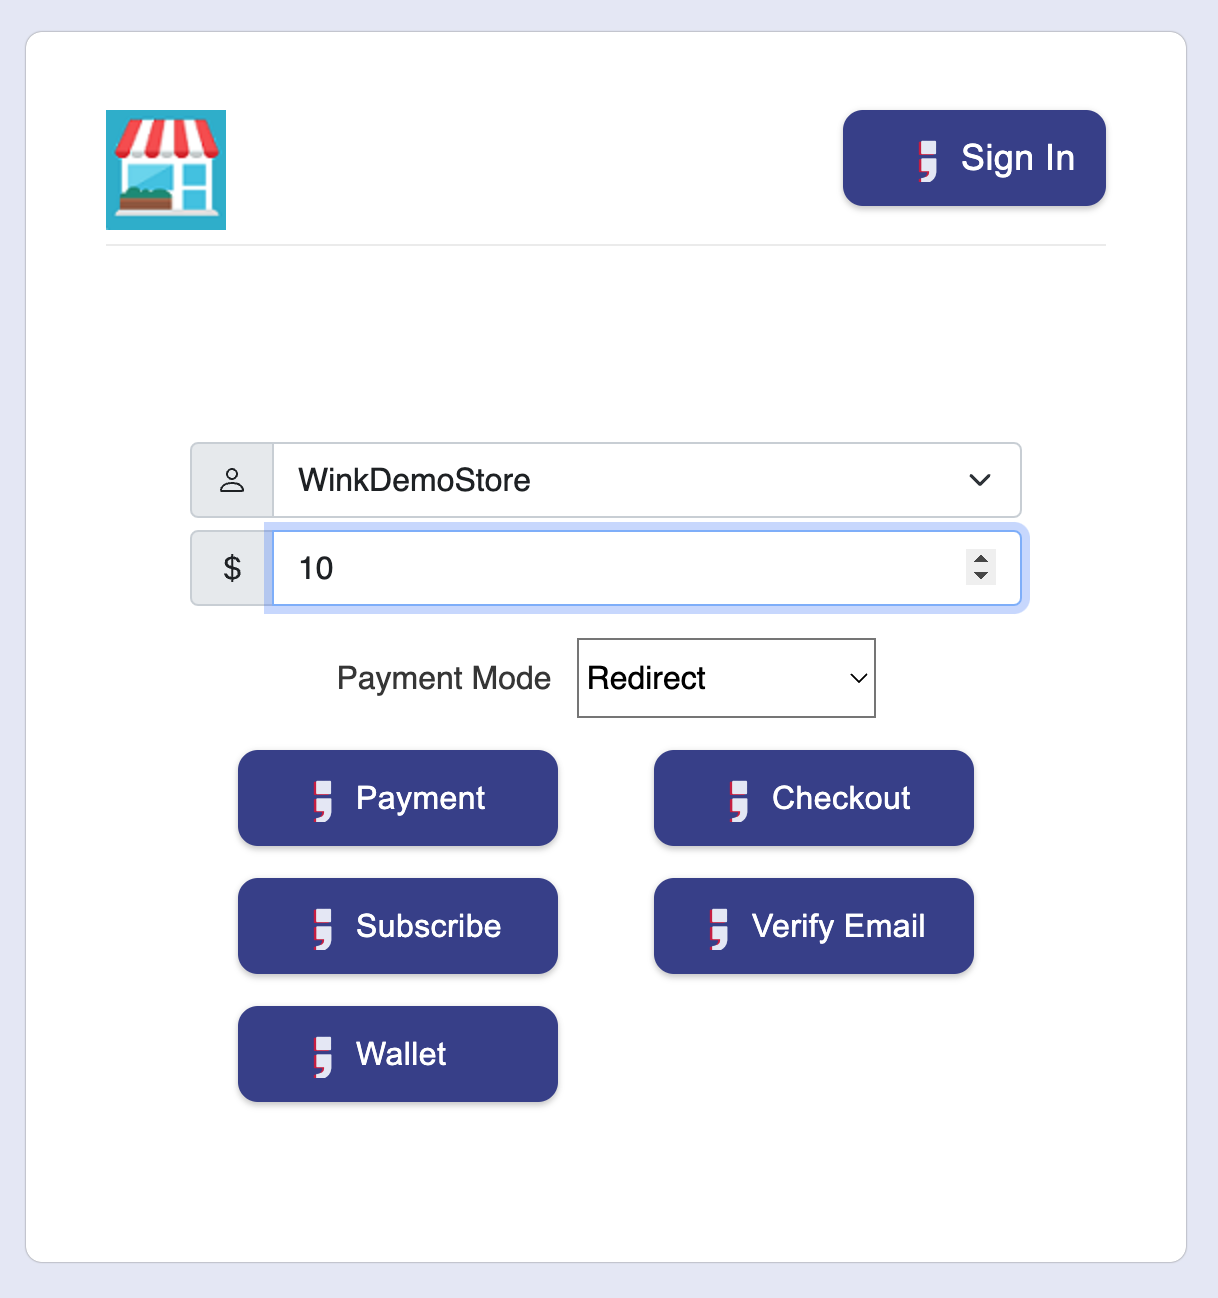
Step 2: Add a Subscribe button to your application

Normally this button is placed where the user is ready to submit card information for a future ( or recurring card payment ) to be made by the merchant

With only a few lines of code, you can add a button that automatically configures itself to have the appropriate text, logo, and colors for the sign-in state of the user and the scopes you request.

📘

Button Styling

The Wink Button styling as well as the images can be found here in the public folder and images can be found here under public/assets folder:

Wink button images

Additionally, Wink's button styling examples can be found here:

Wink button styles

<button id="wink-oauth-button" class="wink-oauth-button-light">
  <img src="semicolon-white.svg" /> 
  Subscribe
</button>

Step 3: Setup the session and initialize the SDK

When the Payment Button is clicked, the onClick function must call the session API and then initiate the SDK. On button click the respective integrationType should be passed to initWinkPay function

The following code shows how to setup the OnClick for the Payment button, call the session API to receive a unique sessionID and configure the SDK with these details.

📘

The code below needs you to select a few information

  1. IntegrationMode value: Specifies how Wink Payment SDK appears from your application. 1= Redirect 2= IFrameEmbedded 3=IFrameOverlay
  2. integrationType: Must be set to 'MIT' for MIT Payments
<script>
async function initWinkPay(integrationType){
const postData ={
      "customerToken": "string", // add your customer token (Optional)
      "integrationToken": "string", // add integration token
      "paymentId": "string", // add payment Id
      "amount": 0 ,      // add amount in ISO format
      "currencyCode": "USD", // USD currency code
      "integrationMode": 1, // You can use wink payment in any of 3 integration modes. 1= Redirect 2= IFrameEmbedded 3=IFrameOverlay
      "returnUrl": "string", // add returnURL for redirecting user on success
      "cancelUrl": "string", // add returnURL for redirecting user on failure
      "description": "string", // Payment description
      "integrationType": integrationType // Any one of Payment, Checkout and MIT
}
 try {
    const response = await fetch('https://{your-server}/v1/payment/session', {
      method: 'POST',
      headers: {
        Accept: 'application/json',
        'Content-Type': 'application/json'
     },
      body: JSON.stringify(postData),
    });
    const result  = await response.json();
    const WinkPaymentJS = window.WinkPaymentJS;
    const params = {
        sessionId: result.sessionId,
        mode: 'redirect', // redirect or embeddediFrame or overlayiFrame, pass one of the value without spacesone of the value without spaces
        env: 'sandbox' // sandbox or live, pass one of the value without spaces
      };
    WinkPaymentJS.init(params);
  } catch (error) {
    console.log(error)
  } 
}
</script>

<button type="button" id="subscribe" onClick="initWinkPay('MIT')" class="wink-oauth-button wink-oauth-button--primary wink-oauth-button--fit-to-text">
	<img src="https://buttons.winklogin.com/src/images/semicolon-white.svg" alt="subscribe button" />
	Subscribe 
</button>

Backend Code

From your servers /your-server/create-session call below api to create session. Use
merchant api key in authorization header

Api url = https://stage-api.winkpayments.io/v1/payment/session
Return the sessionId received from wink to your UI

👍

Automatic Wink Login Integration - No extra code needed

Note that Wink Login integration works without you having to do anything special. If the user has been logged on your website using Wink Login and then the Wink Payment SDK is called as per above code to launch payment, it will automatically retrieve all card and address data and speed the user through the subscription steps. If the user is not logged in, once the payment SDK is called, it will ask the user to login before it can proceed with MIT.

Step 4: Retrieving the Transaction Response

On subscribe completion

For Redirect mode or iFrame mode

After subscribing to the card, the merchant will be redirected back to the return URL, provided while calling the session API, and in the query string the information for winkCardToken and customerConsentId will be available.

🚧

In case the session is expired the user will receive the transactionStatus = sessionExpired in the URL.

📘

For MIT Payments, you have to provide the amount later in the MIT API call from you server ( see backend integration )

👍

On Success, you must store the winkCardToken and customerConsentId in your Database against the user who subscribed to the service on your application. This data will be required in the MIT call alongside the amount

Backend MIT Integration

When it's time to collect the payment from the customer's subscribed payment method, you must call the Purchase API from the backend as per the details given below.

  • Create a scheduled job on your server and call wink payment purchase API
  • Please send Authorization: Basic Base64Encode(Apikey) header on every request. You can use the respective programming language method to Base64Encode API key
  • As we are using ISO format, we will use the ISOFormat function to convert the amount entered by user into ISO format.
function ISOFormat(amount) {
  return amount * 100;
}

var testApiKey = '' // you will have to request for the key
// make http request
Authorization: Basic Base64Encode(testApiKey)
POST /v1/payment/Purchase
// request body
{
  "winkCardToken": "card_qGXnv5pcvZIfvl", // will be recieved on consent confirmation in return URL
  "amount": ISOFormat(amount), // i.e ISO format 100 for $1.00.
  "currencyCode": "USD", // i.e. ISO alpha currency codes.
  "description":"string" // i.e Description related to transaction
}

📘

For more details on the Purchase API and response codes

The Wink Payment API reference can be found here


What’s Next

Request your credentials to begin integrating